≡ Menu

Pumpkin Biscotti

Pumpkin Biscotti

Life has taken me to a place where fall actually looks the way it does in magazine photos–there are vibrantly changing leaves, pumpkins have overtaken both grocery storefronts and farmers market stands, and people walk around wearing layers and scarves that exist for more than fashion. My closet doesn’t have enough sweaters in it, but my heart is full, and I’m happy to be in a new place.

I’ve got a few weeks before I start my job as a nurse practitioner (WHAT? This still feels nuts to me), and since I’m a little bit in love with the kitchen in my new apartment, I’ve been spending a lot of my free time baking. Settling into a new place has been fun. I can’t believe I now live somewhere where 1) I’ll drive by a flock of sheep and a slew of farms on my way to work everyday and 2) outside my window, there are mountains on three sides (*swoon*). But even the best of transitions tend to be expensive and/or task-heavy, and so I am cherishing moments like this one, where I can sit with hot coffee and crunchy biscotti and be grateful for the opportunities I have, and the road that’s gotten me here.

Pumpkin Biscotti

It’s been a while since I’ve written–my last post was from September 2014, just a month after I moved to Atlanta, and about 3 weeks after I started the MSN program at Emory. It was a very busy 2 years, as I suspect is true for most graduate programs. I caught a lot of babies, and stitched up a lot of wounds, and talked with a lot of people about healthy living, which I suspect is true for only the best of graduate programs. My midwifery rotations were with a high-volume, hospital-based OBGYN/midwifery practice, where my preceptors were kind, and patient, and brilliant. My nurse practitioner rotations were all over, but heavily emphasized urgent/emergent care, where my preceptors were, again incredibly kind and patient. The best part of my education, hands-down, has been the mentors.

Since I previously worked as a labor & delivery nurse, I kind of went through school thinking that I’d end up working primarily as a midwife. After graduating though, I decided to focus on working as a family nurse practitioner (FNP), at least for the time being. I fiercely miss midwifery, but want to make an investment in being a well-rounded healthcare provider–and at this point in my career, that means attending fewer births, and spending a lot more time treating chronic diseases. There is so much to learn!

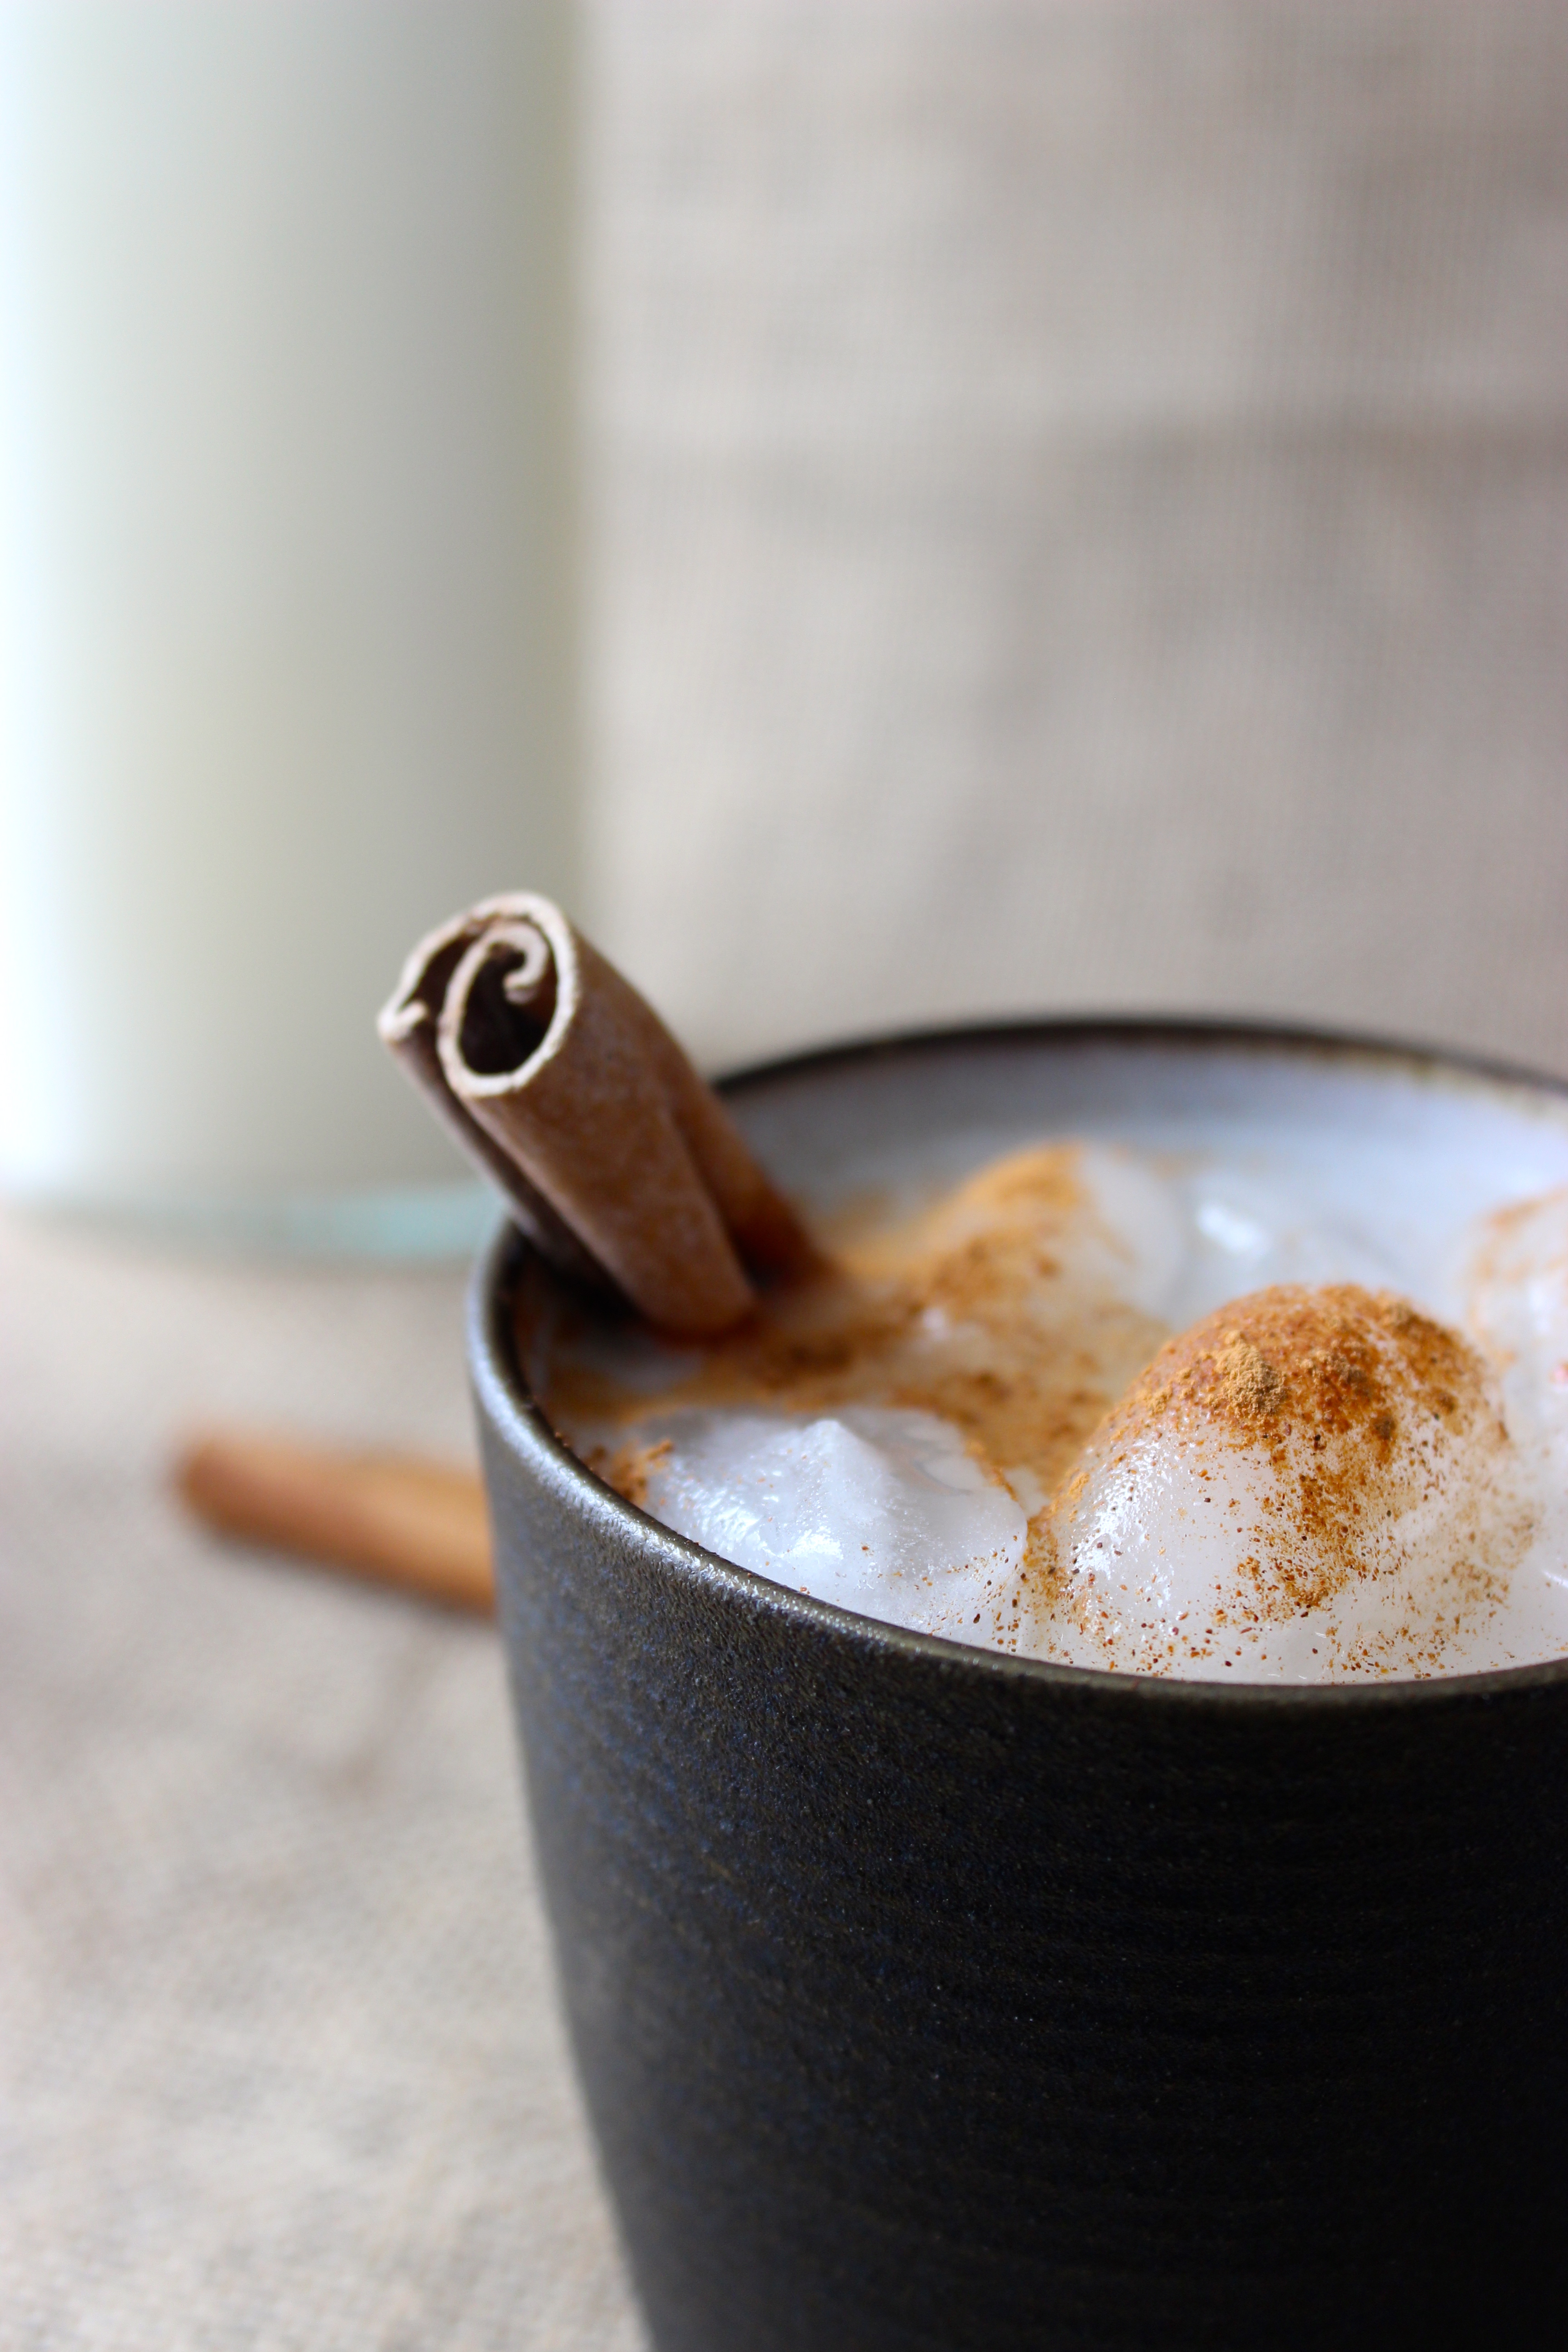
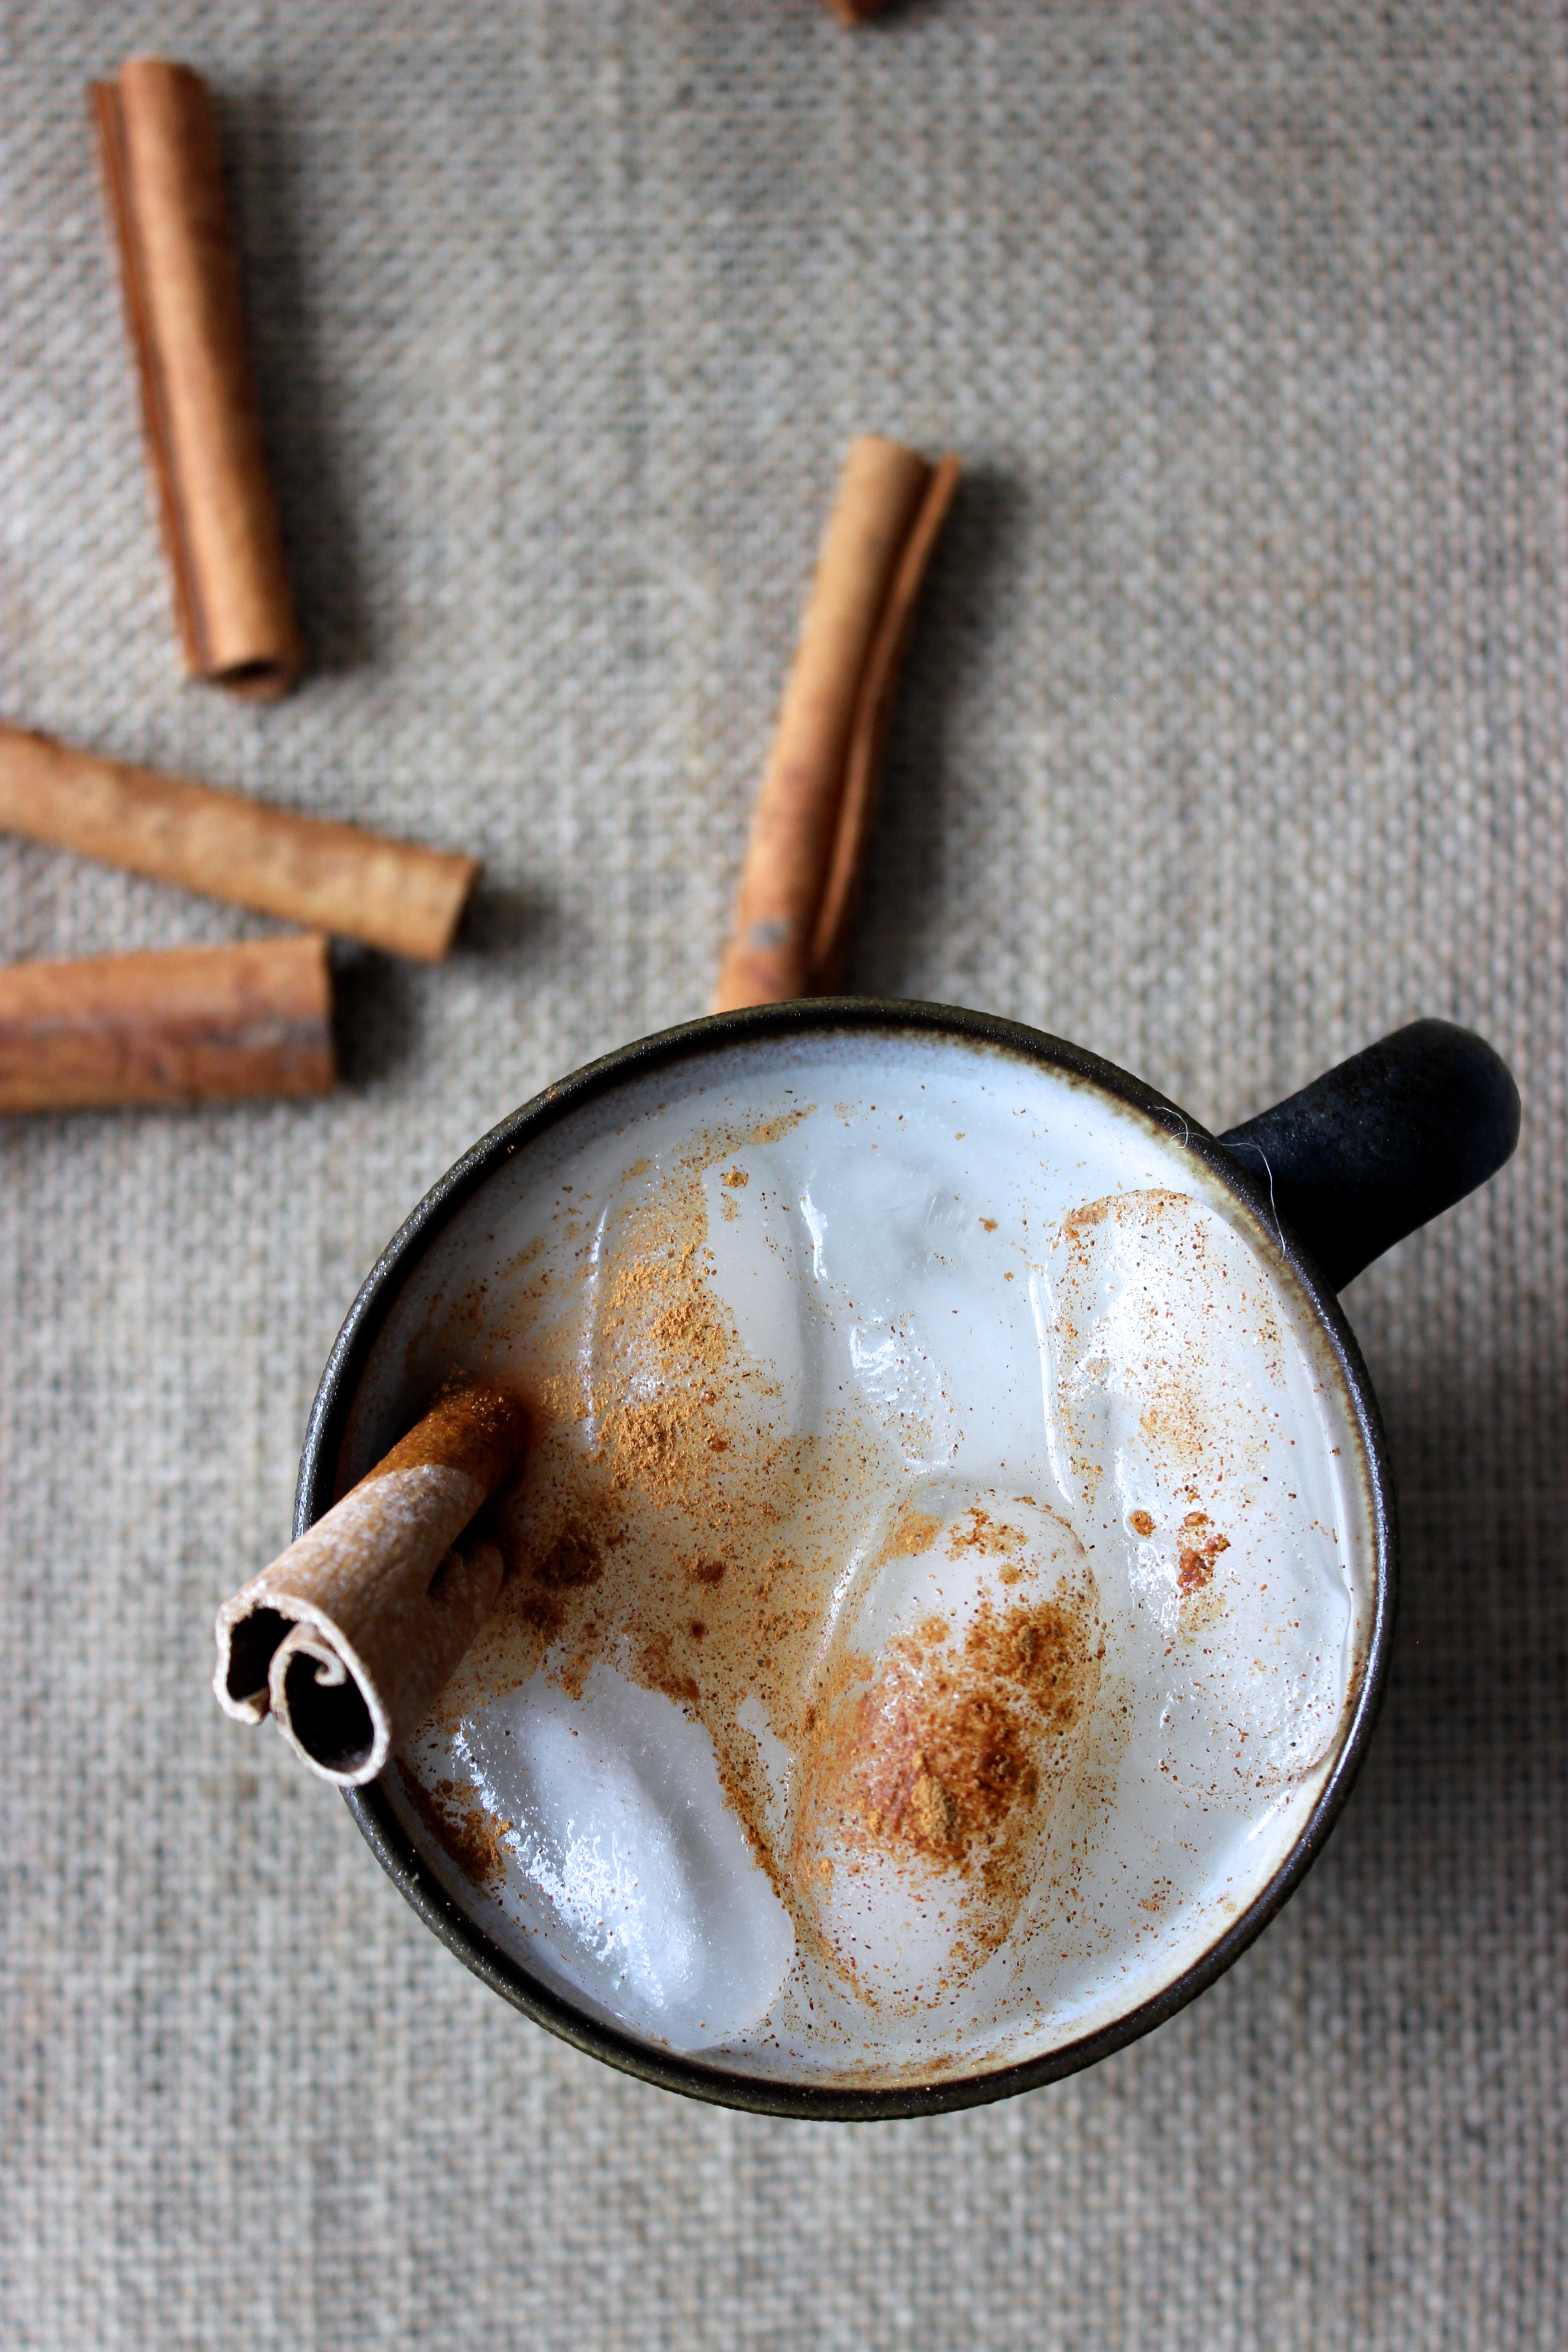
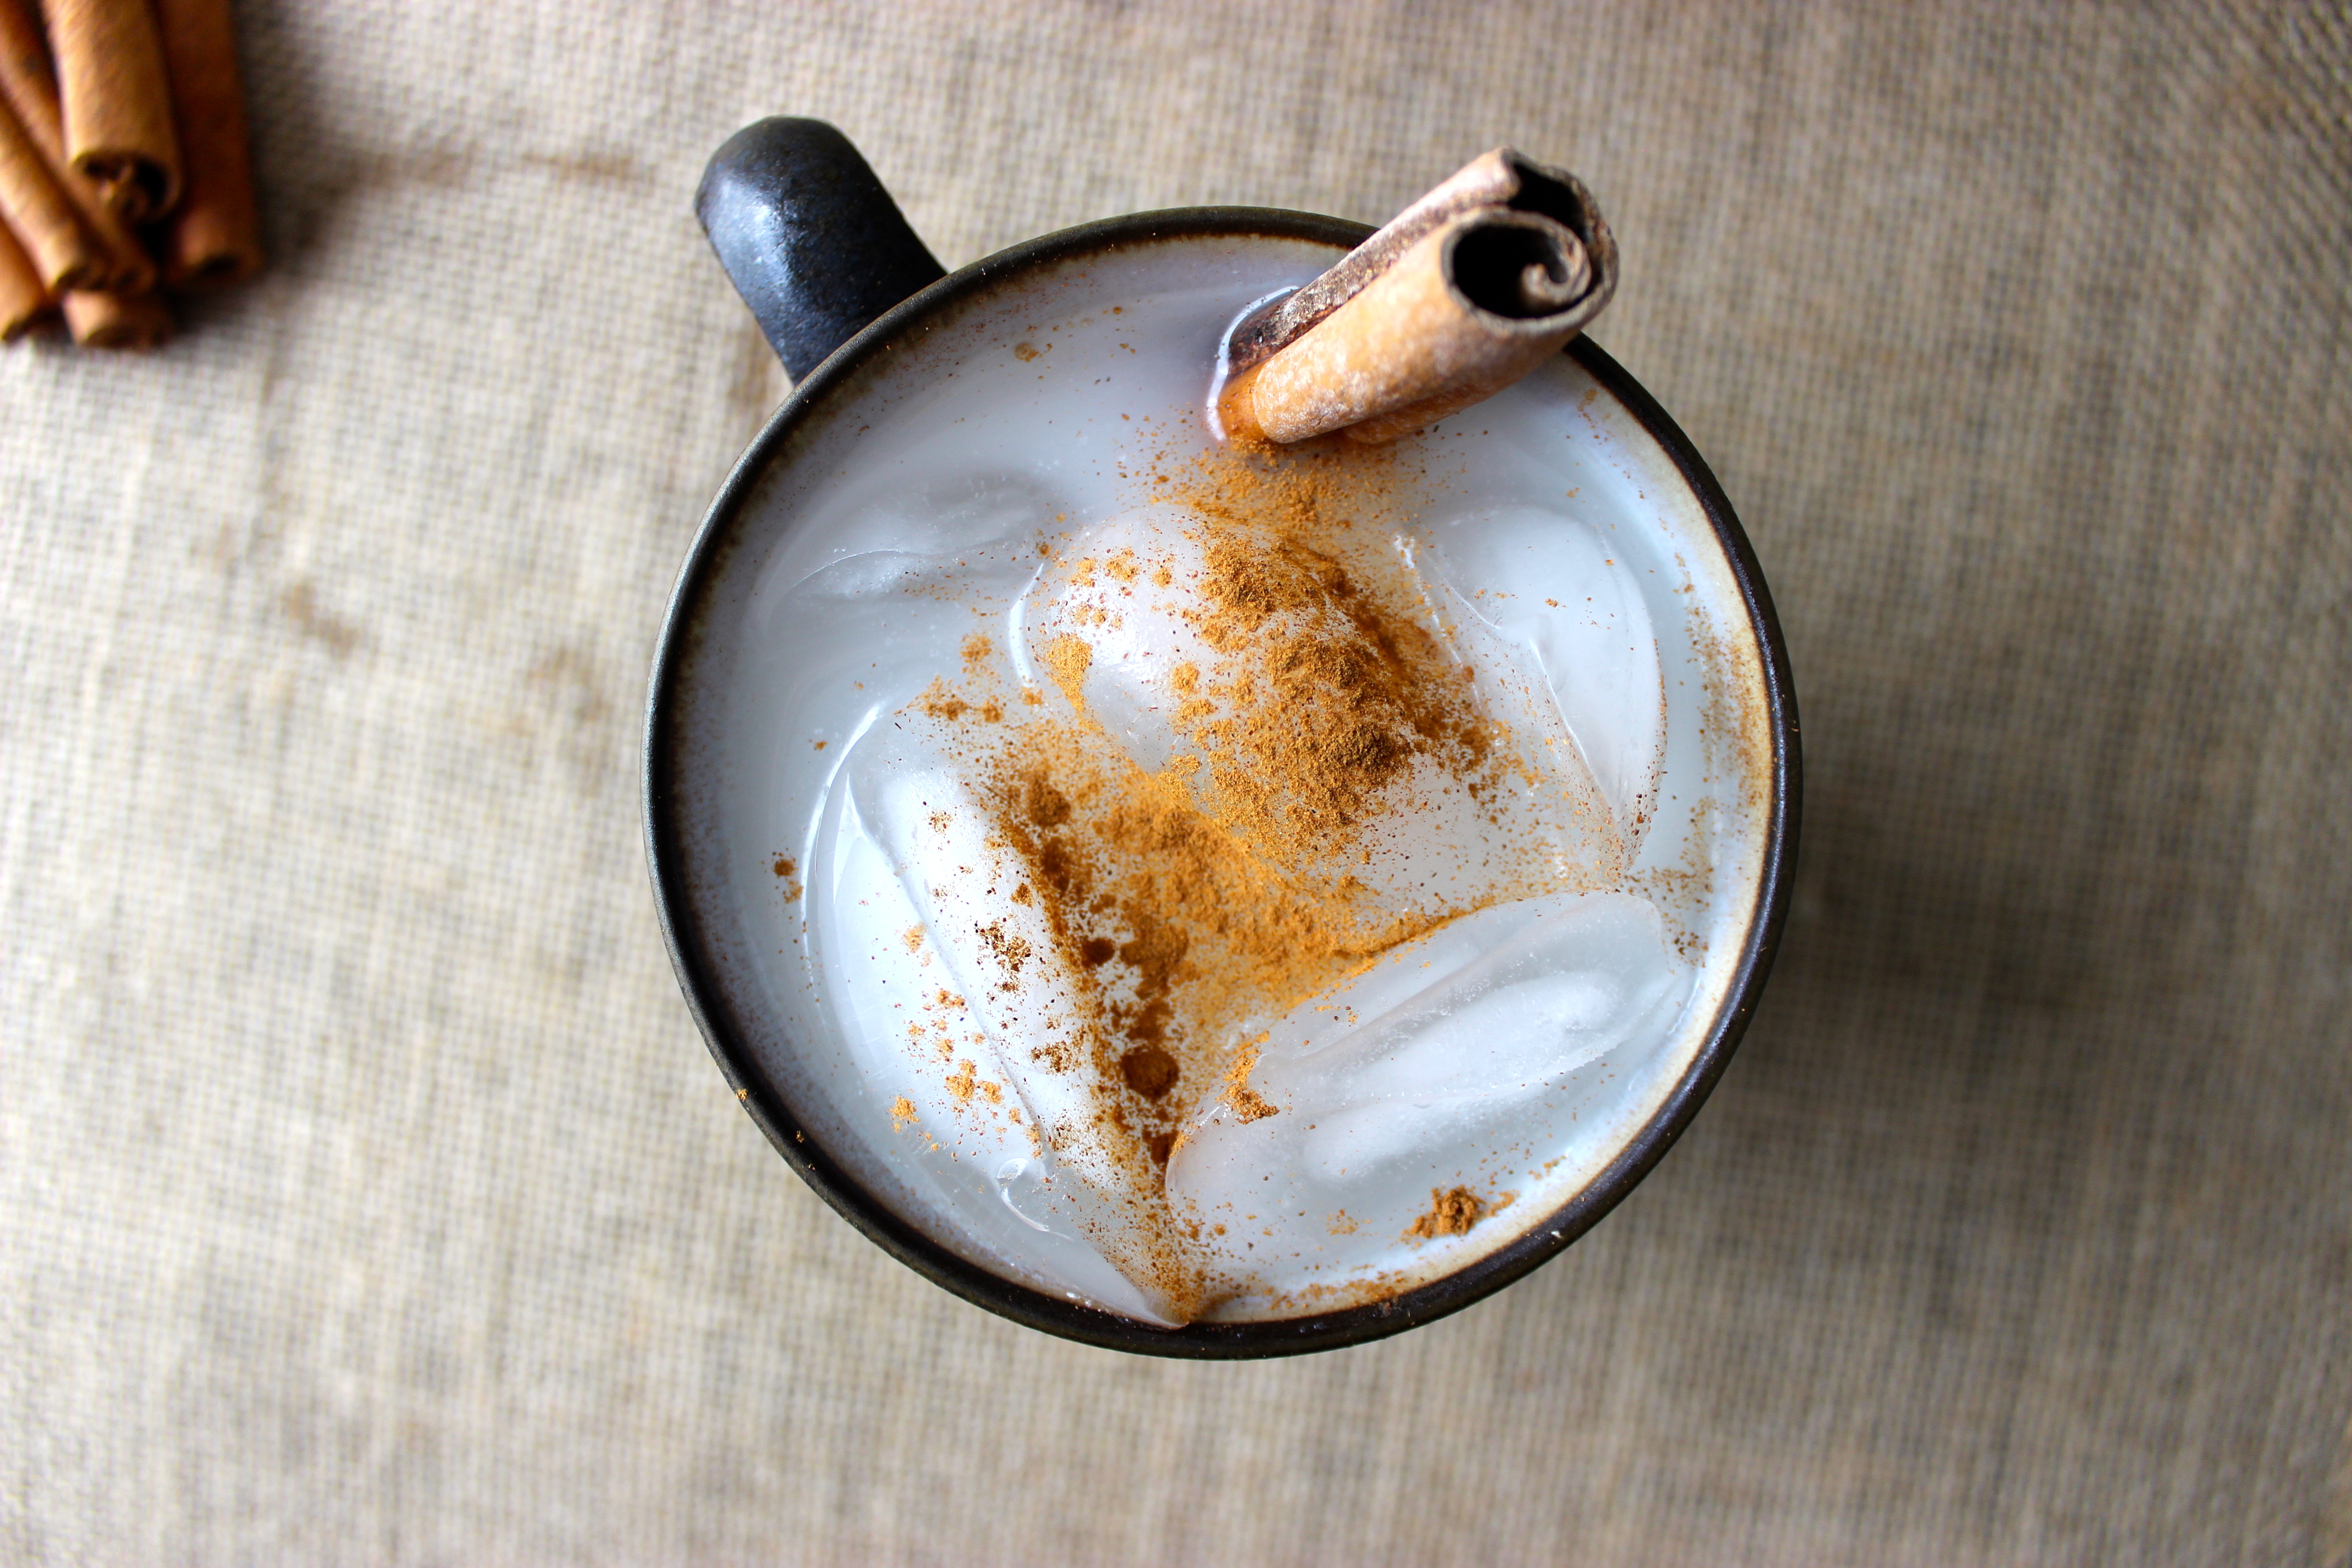
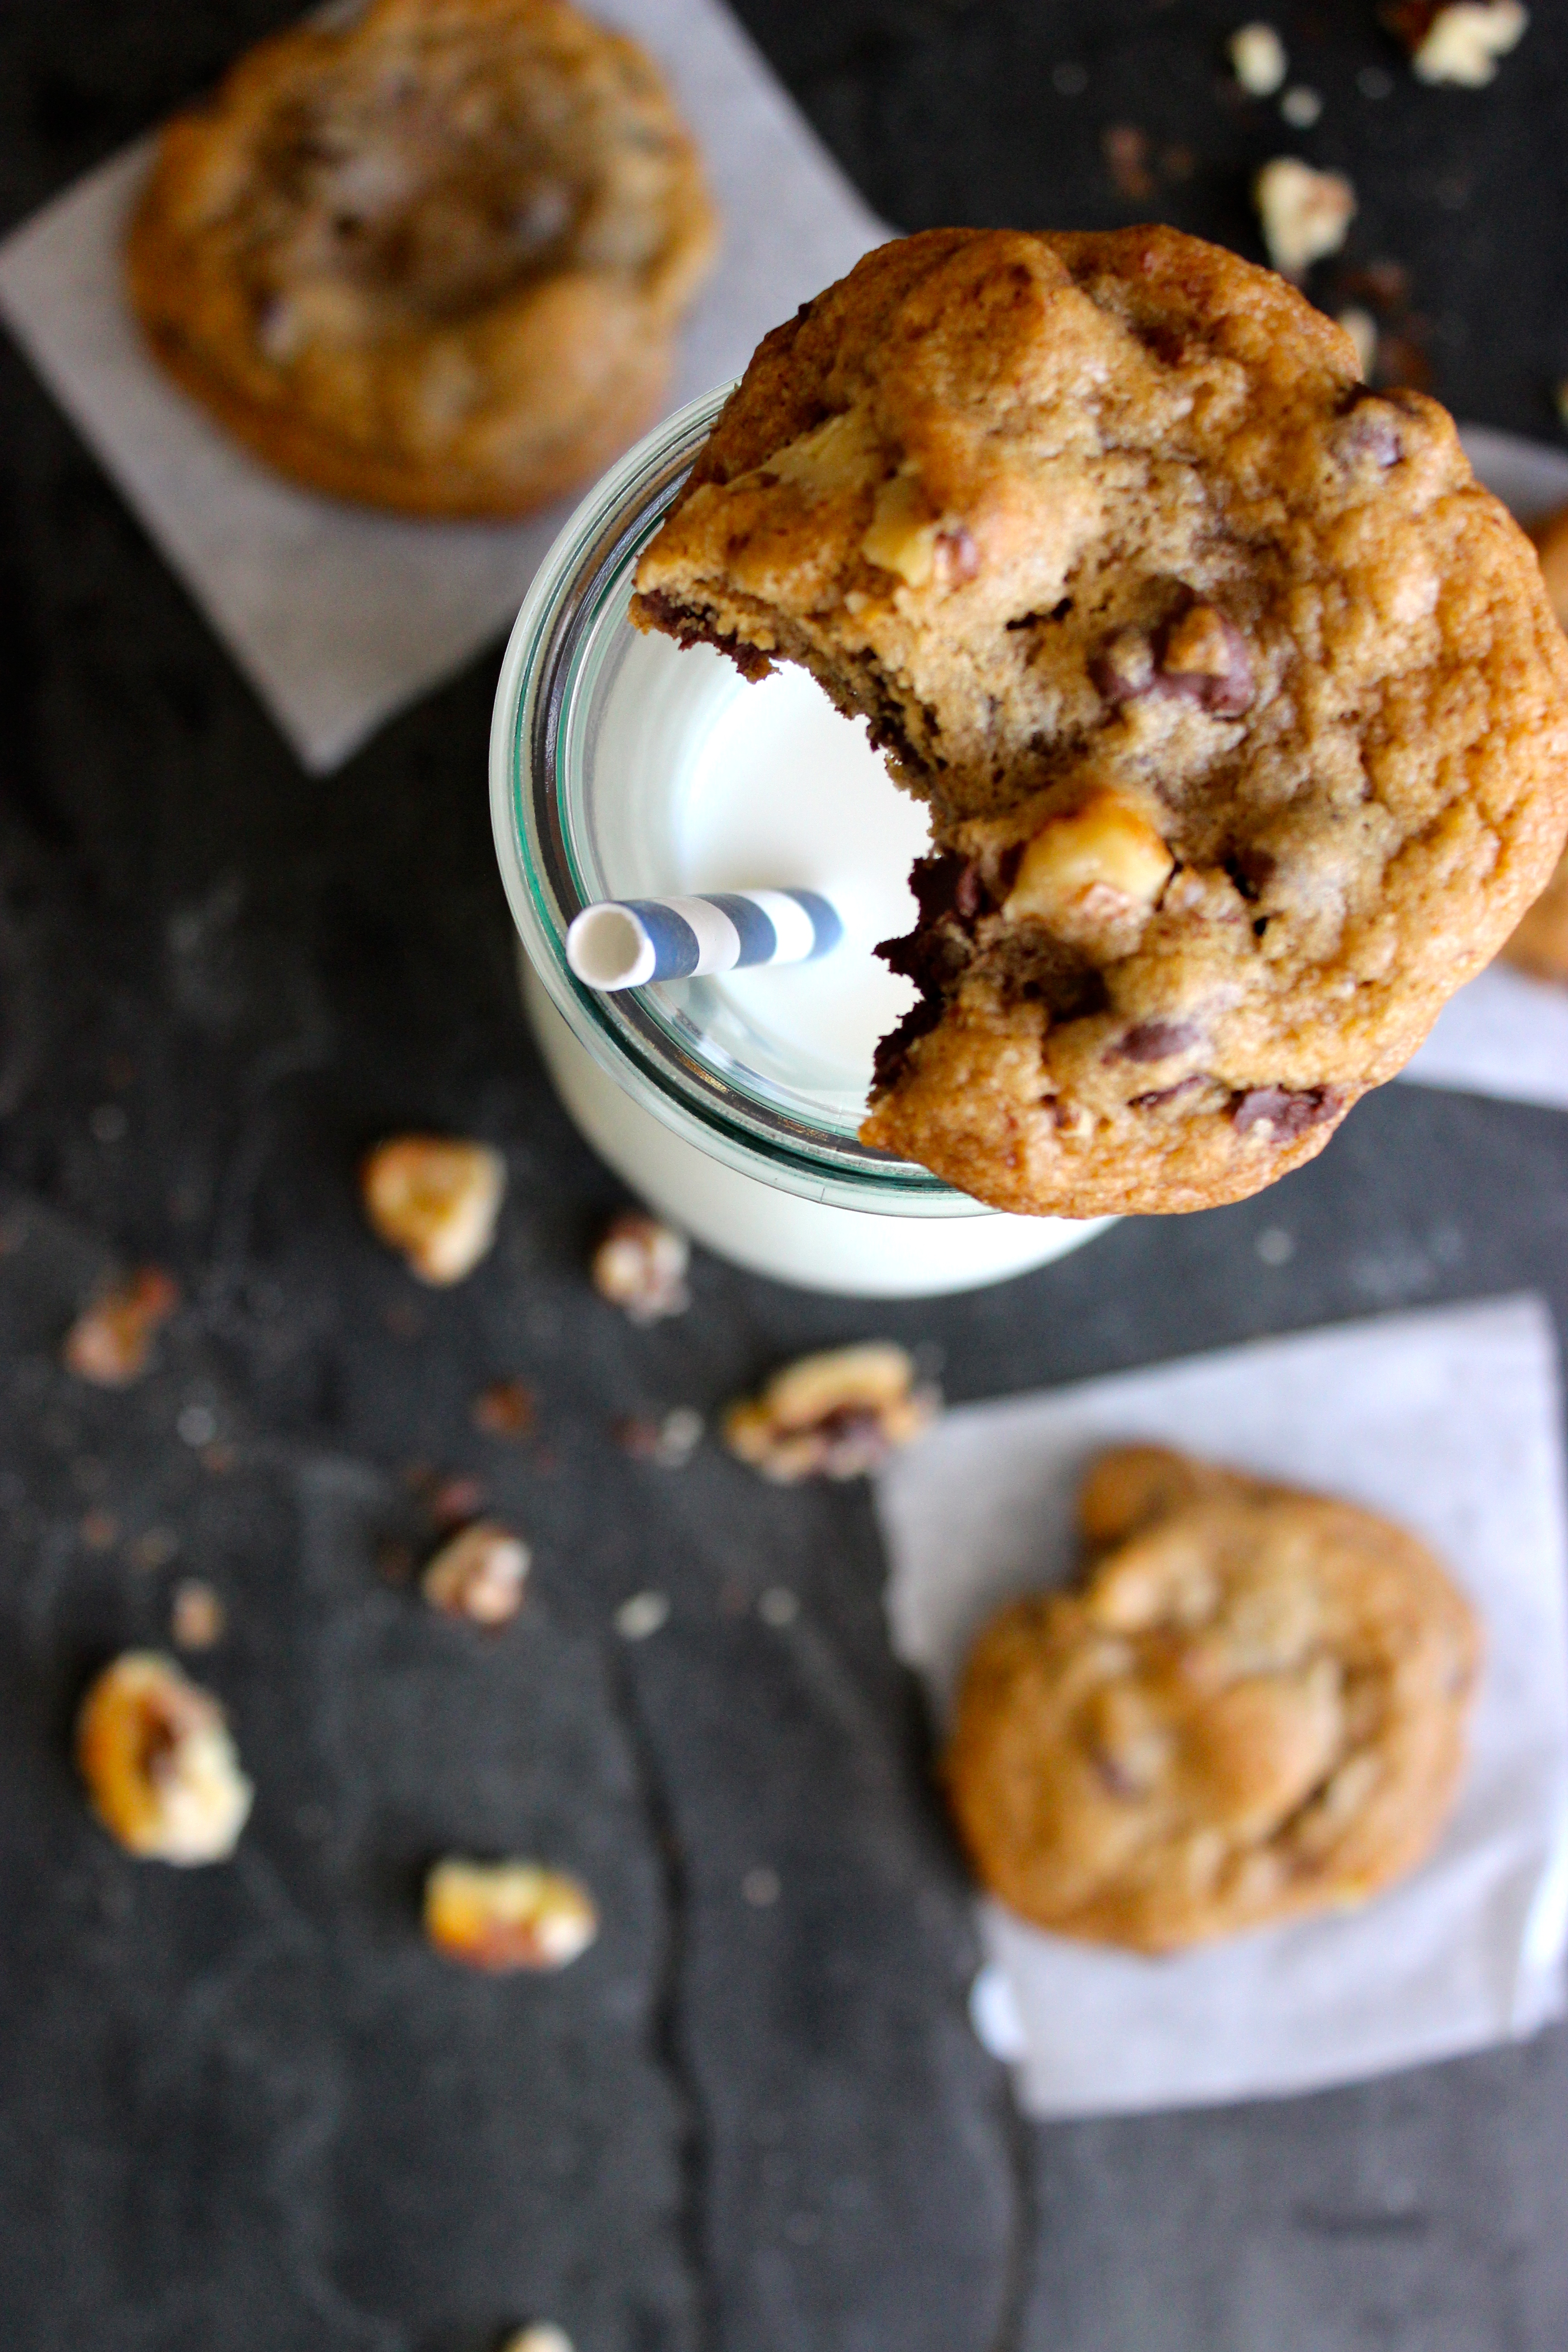
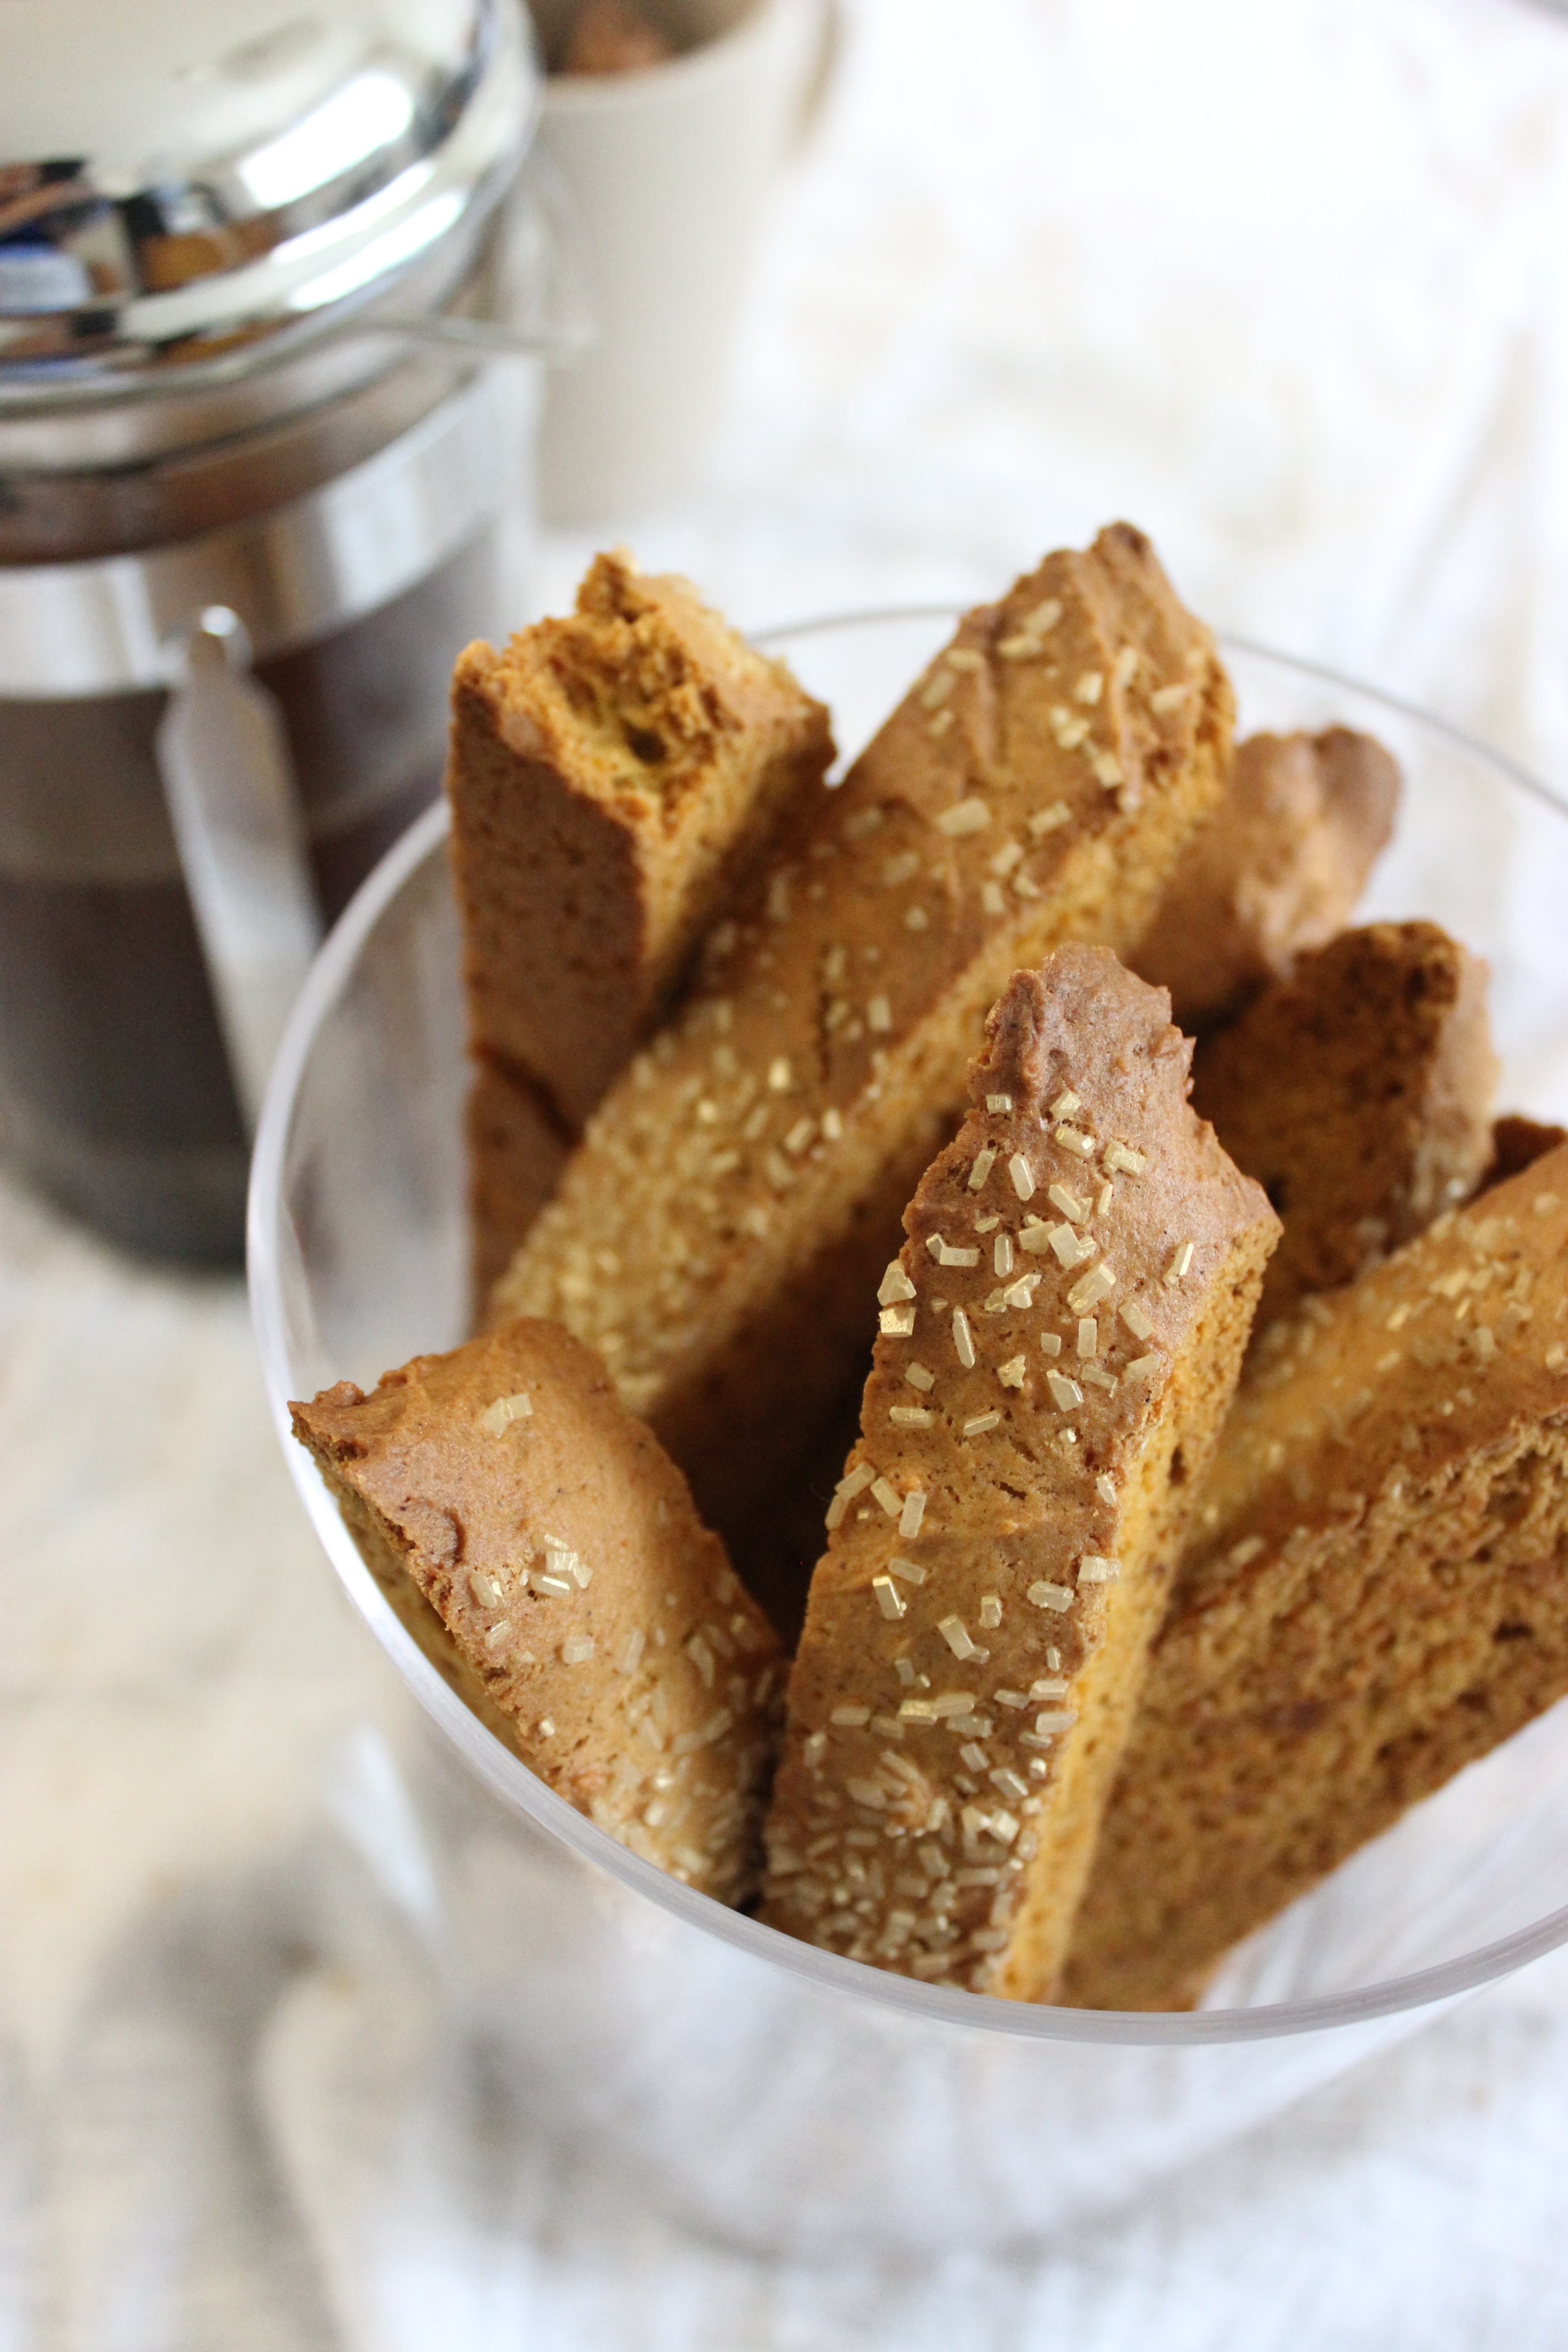
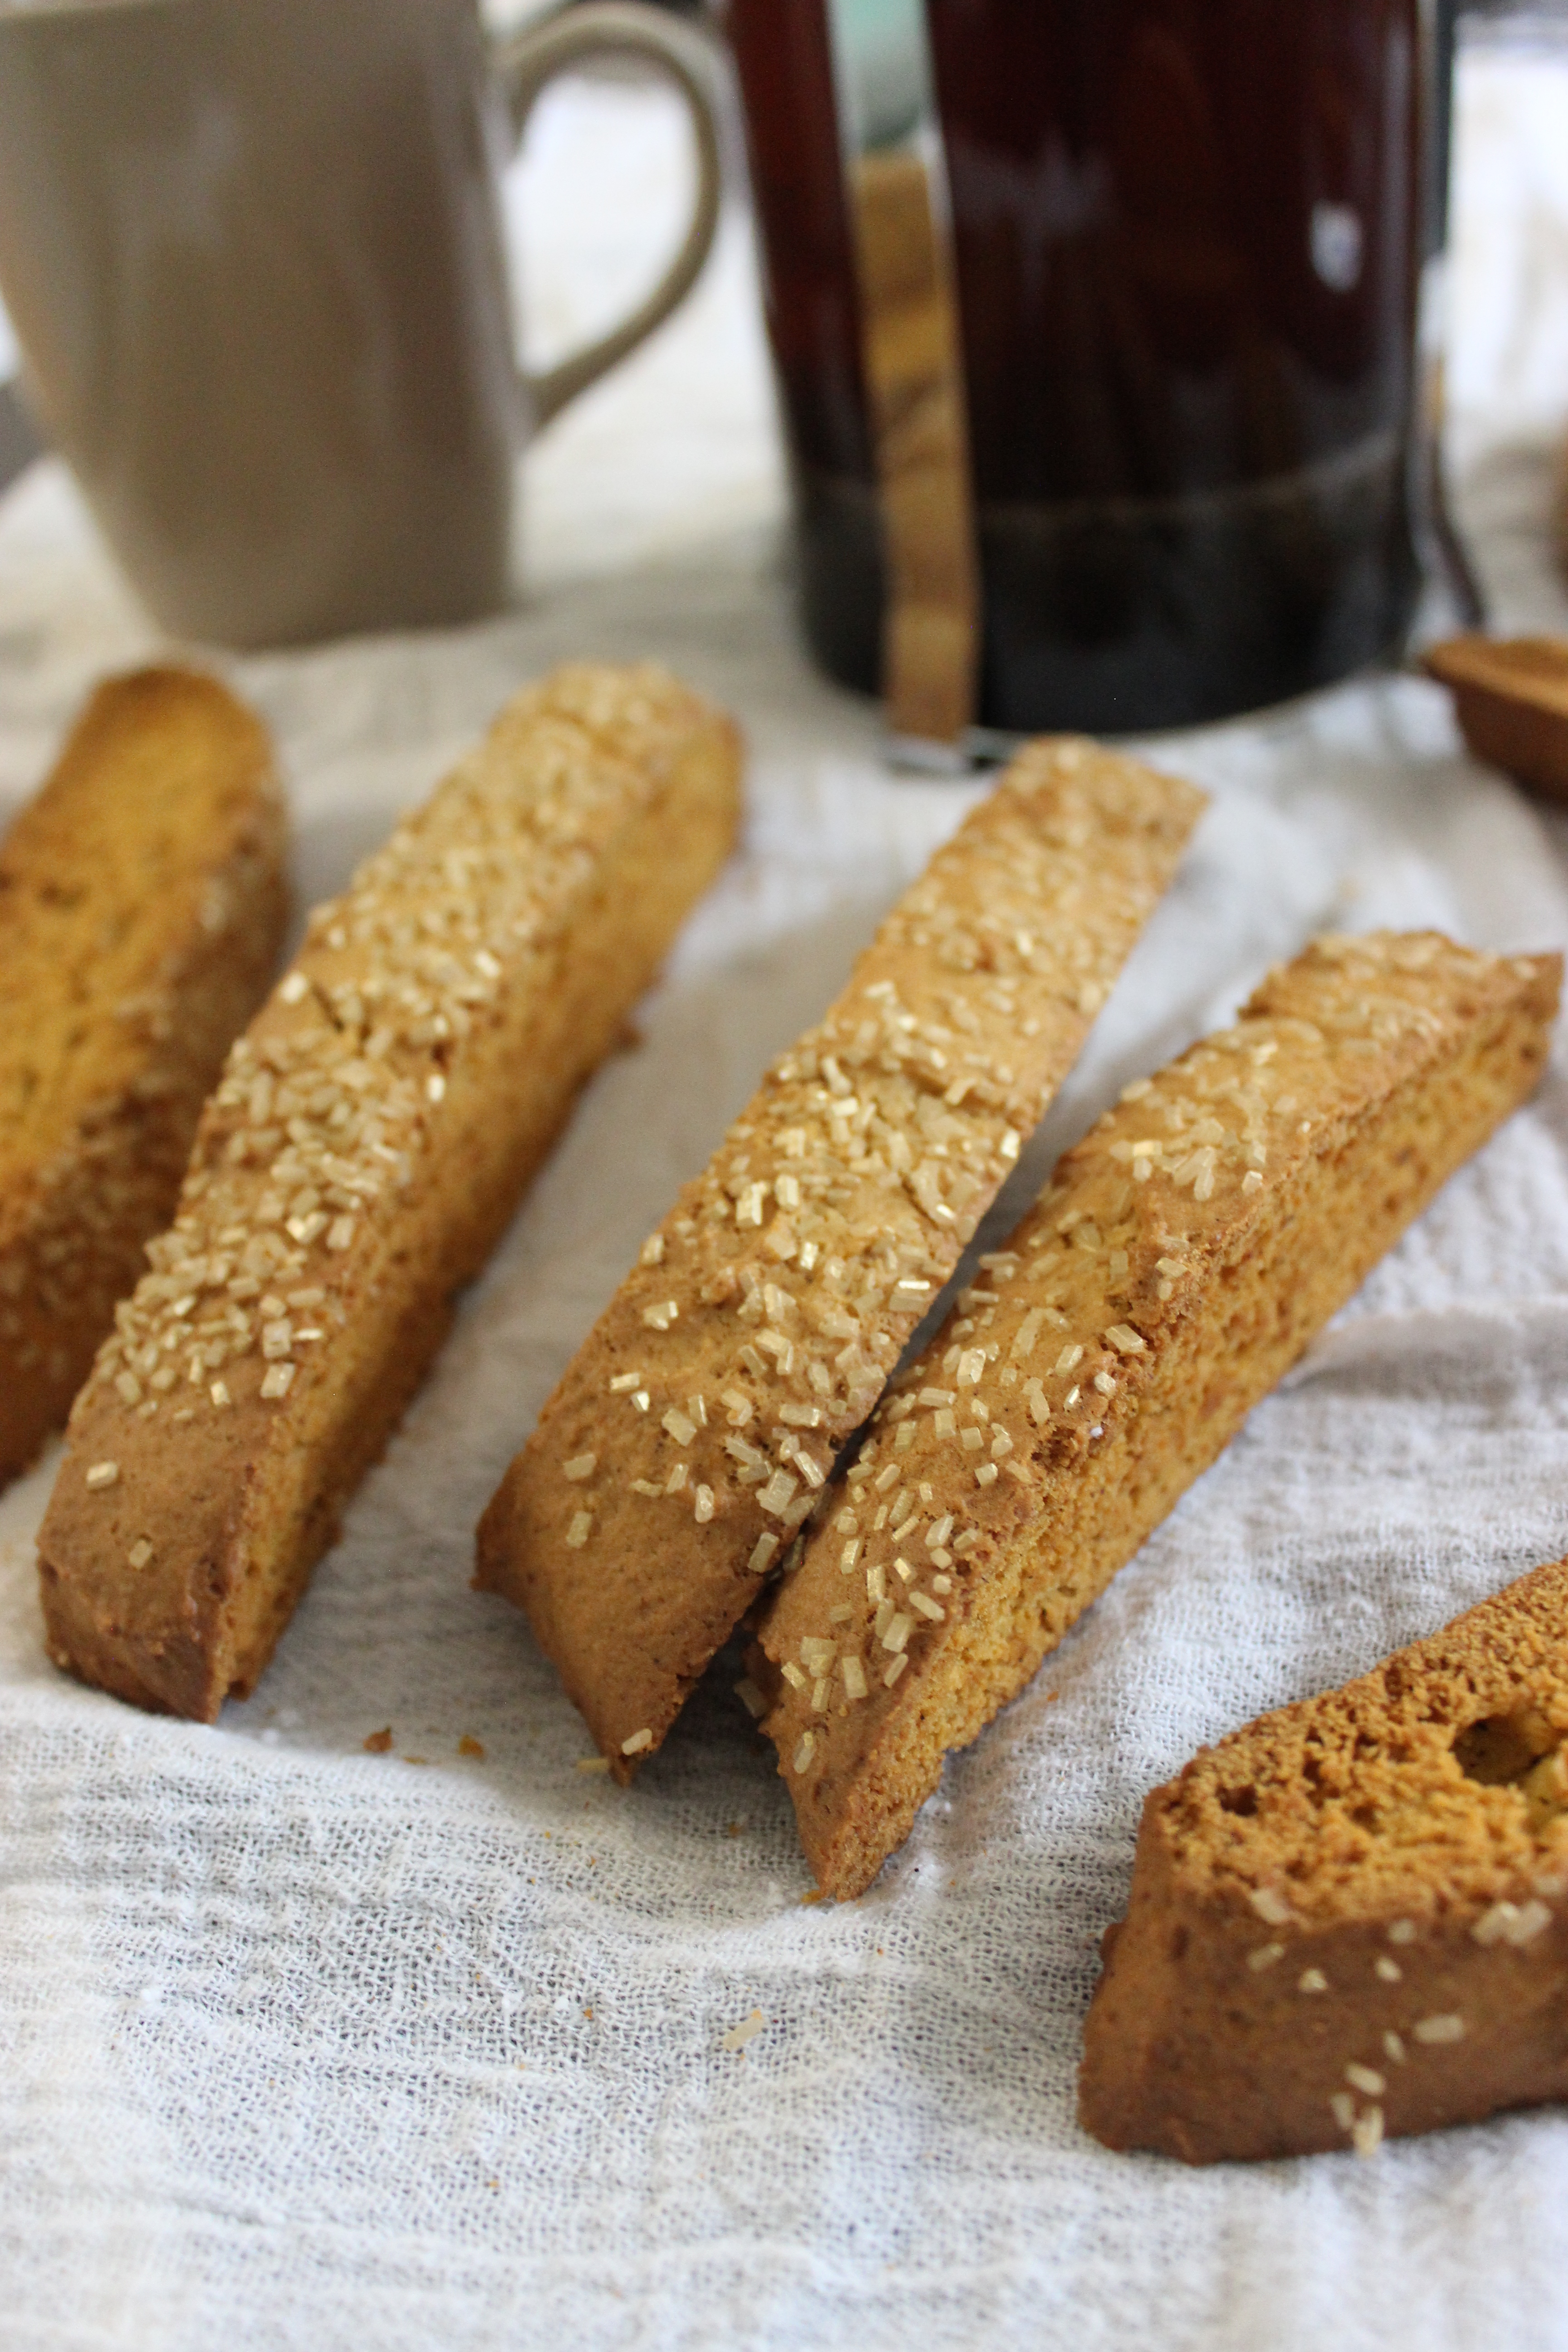
But first, coffee. With biscotti.

Pumpkin Biscotti

Recipe notes:

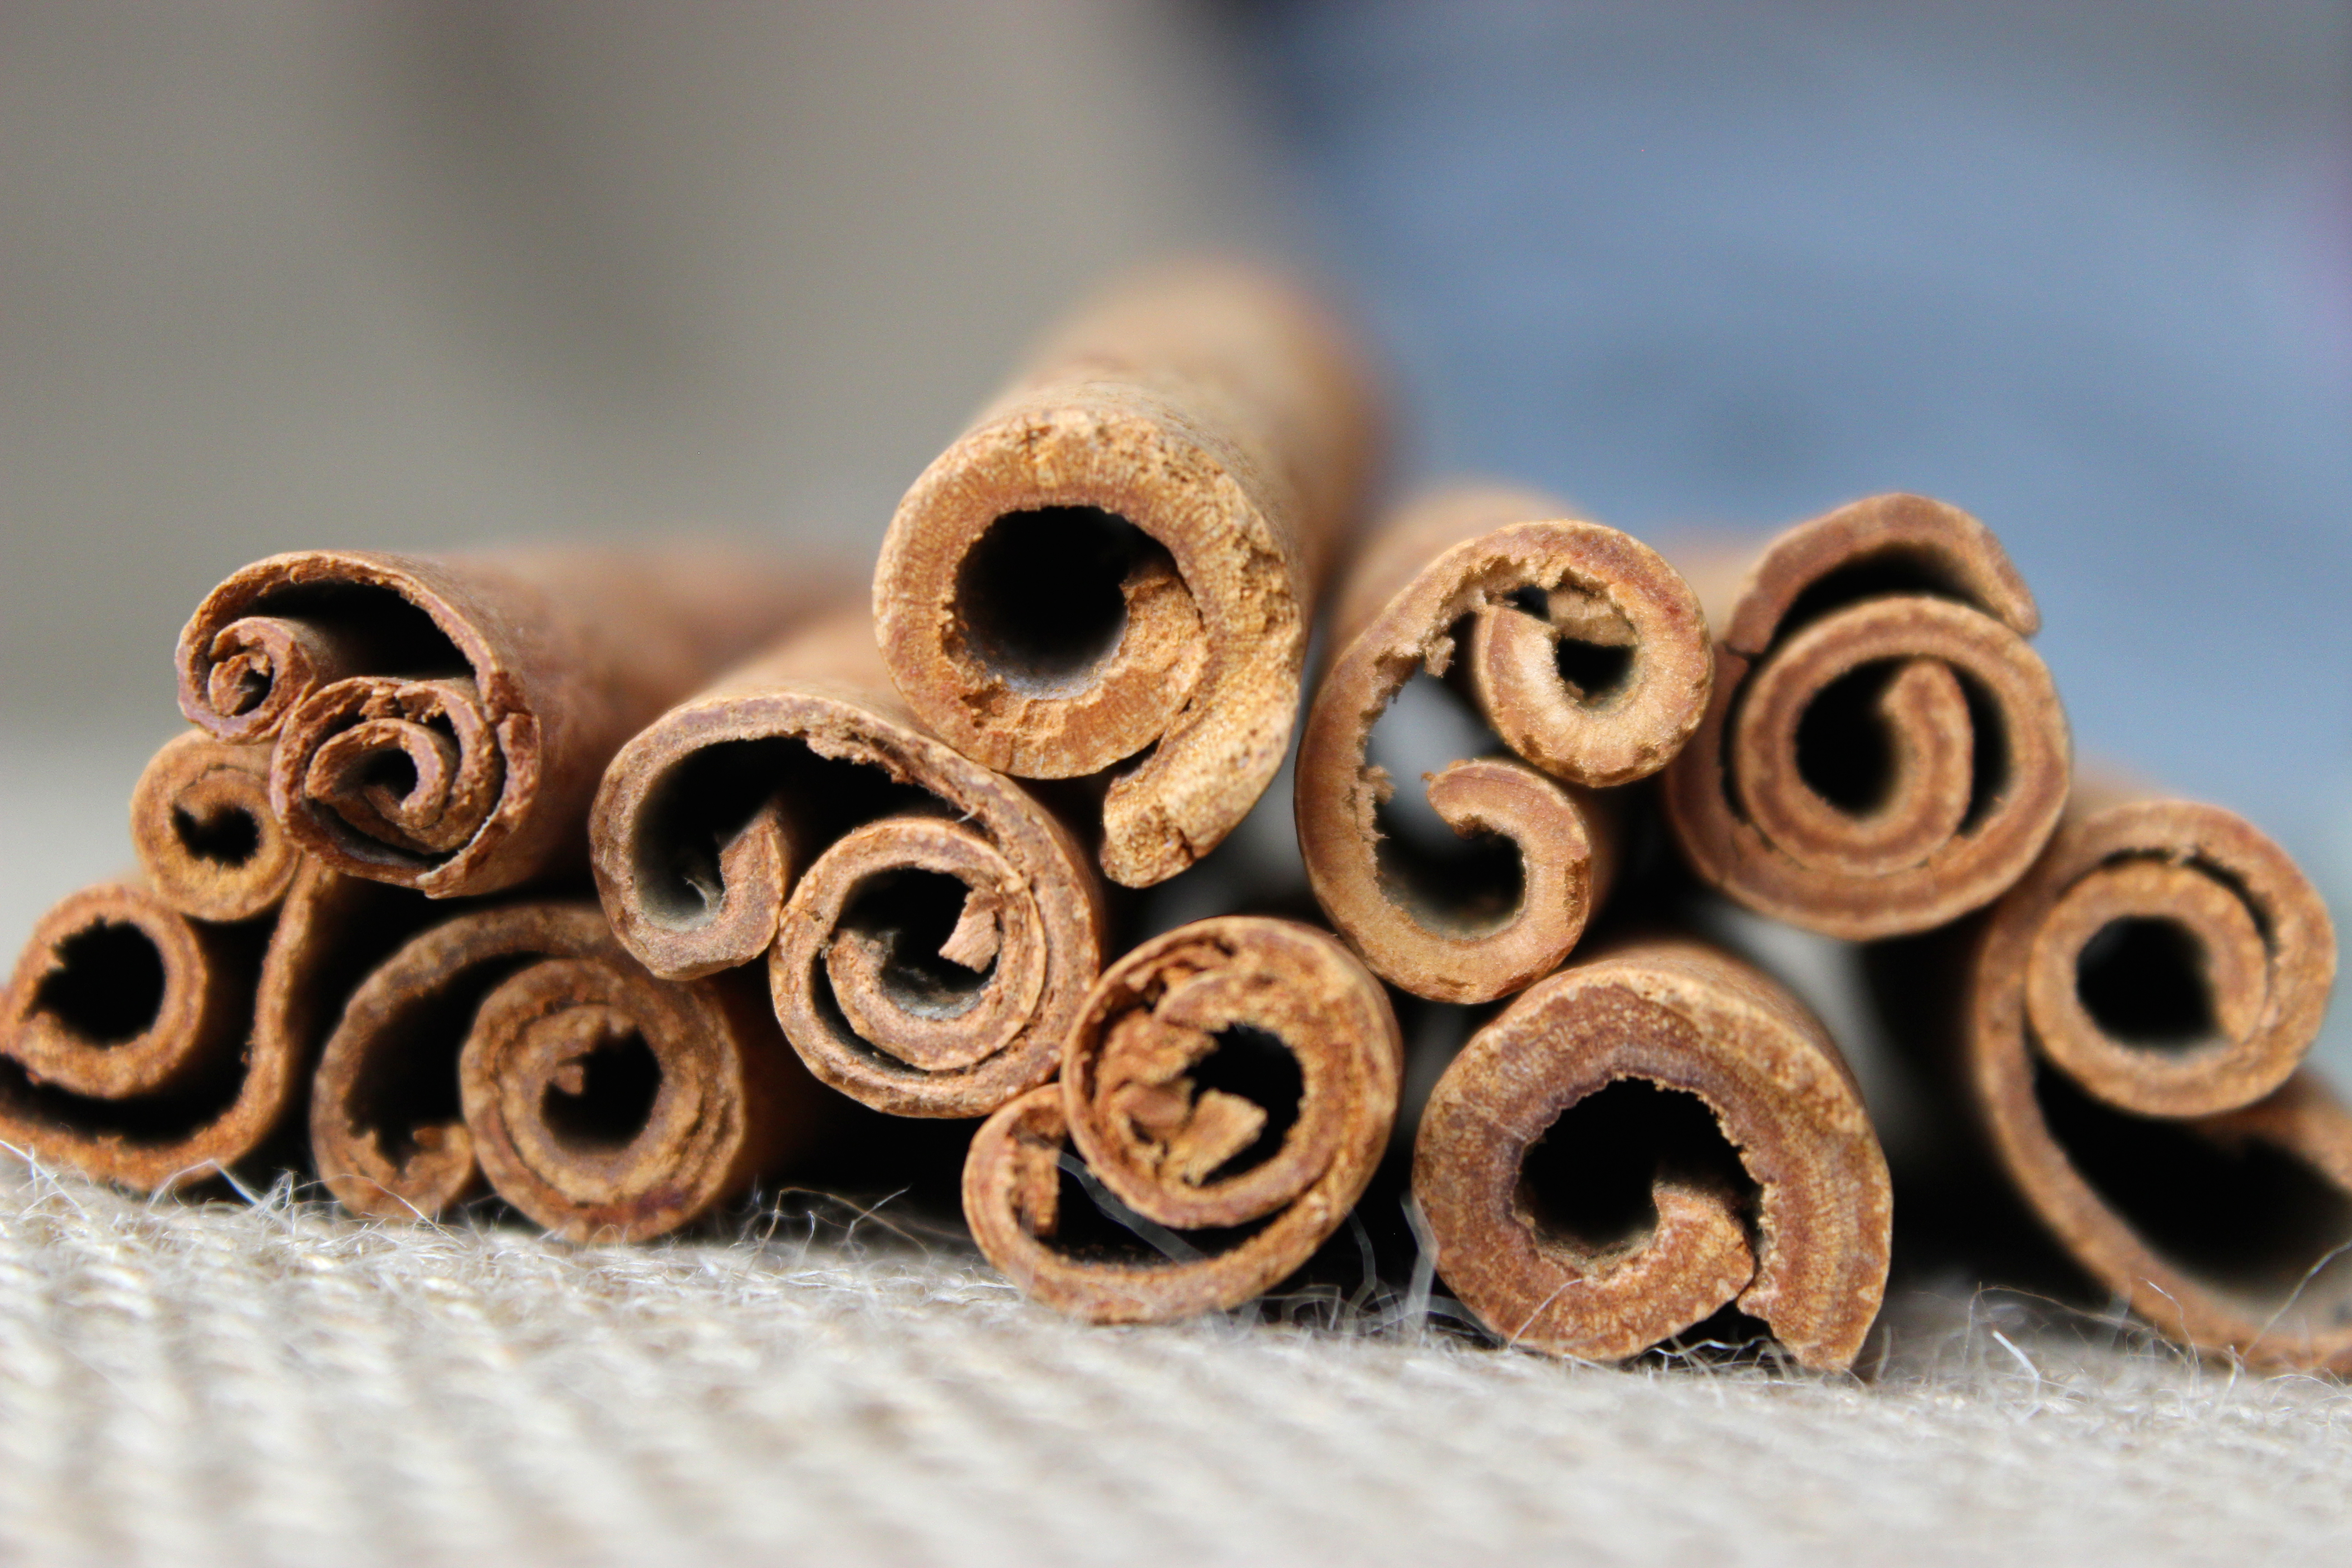
  • The recipe below is from King Arthur Flour, with the tiniest of adjustments–I didn’t have pumpkin pie spice, increased the salt slightly, decreased the second cooking time, and made my biscotti in a single loaf, rather than in 2 loaves.
  • When the biscotti is put on the baking sheet to form a loaf/rectangle, it will seem impossibly sticky–using a wet spatula, as suggested by KAF, is very, very helpful. Don’t stress too much about the rectangle, though–it’s going to be cut up, and any mistakes or uneven edges on the loaf are going to look imperceptible on a single biscotti.
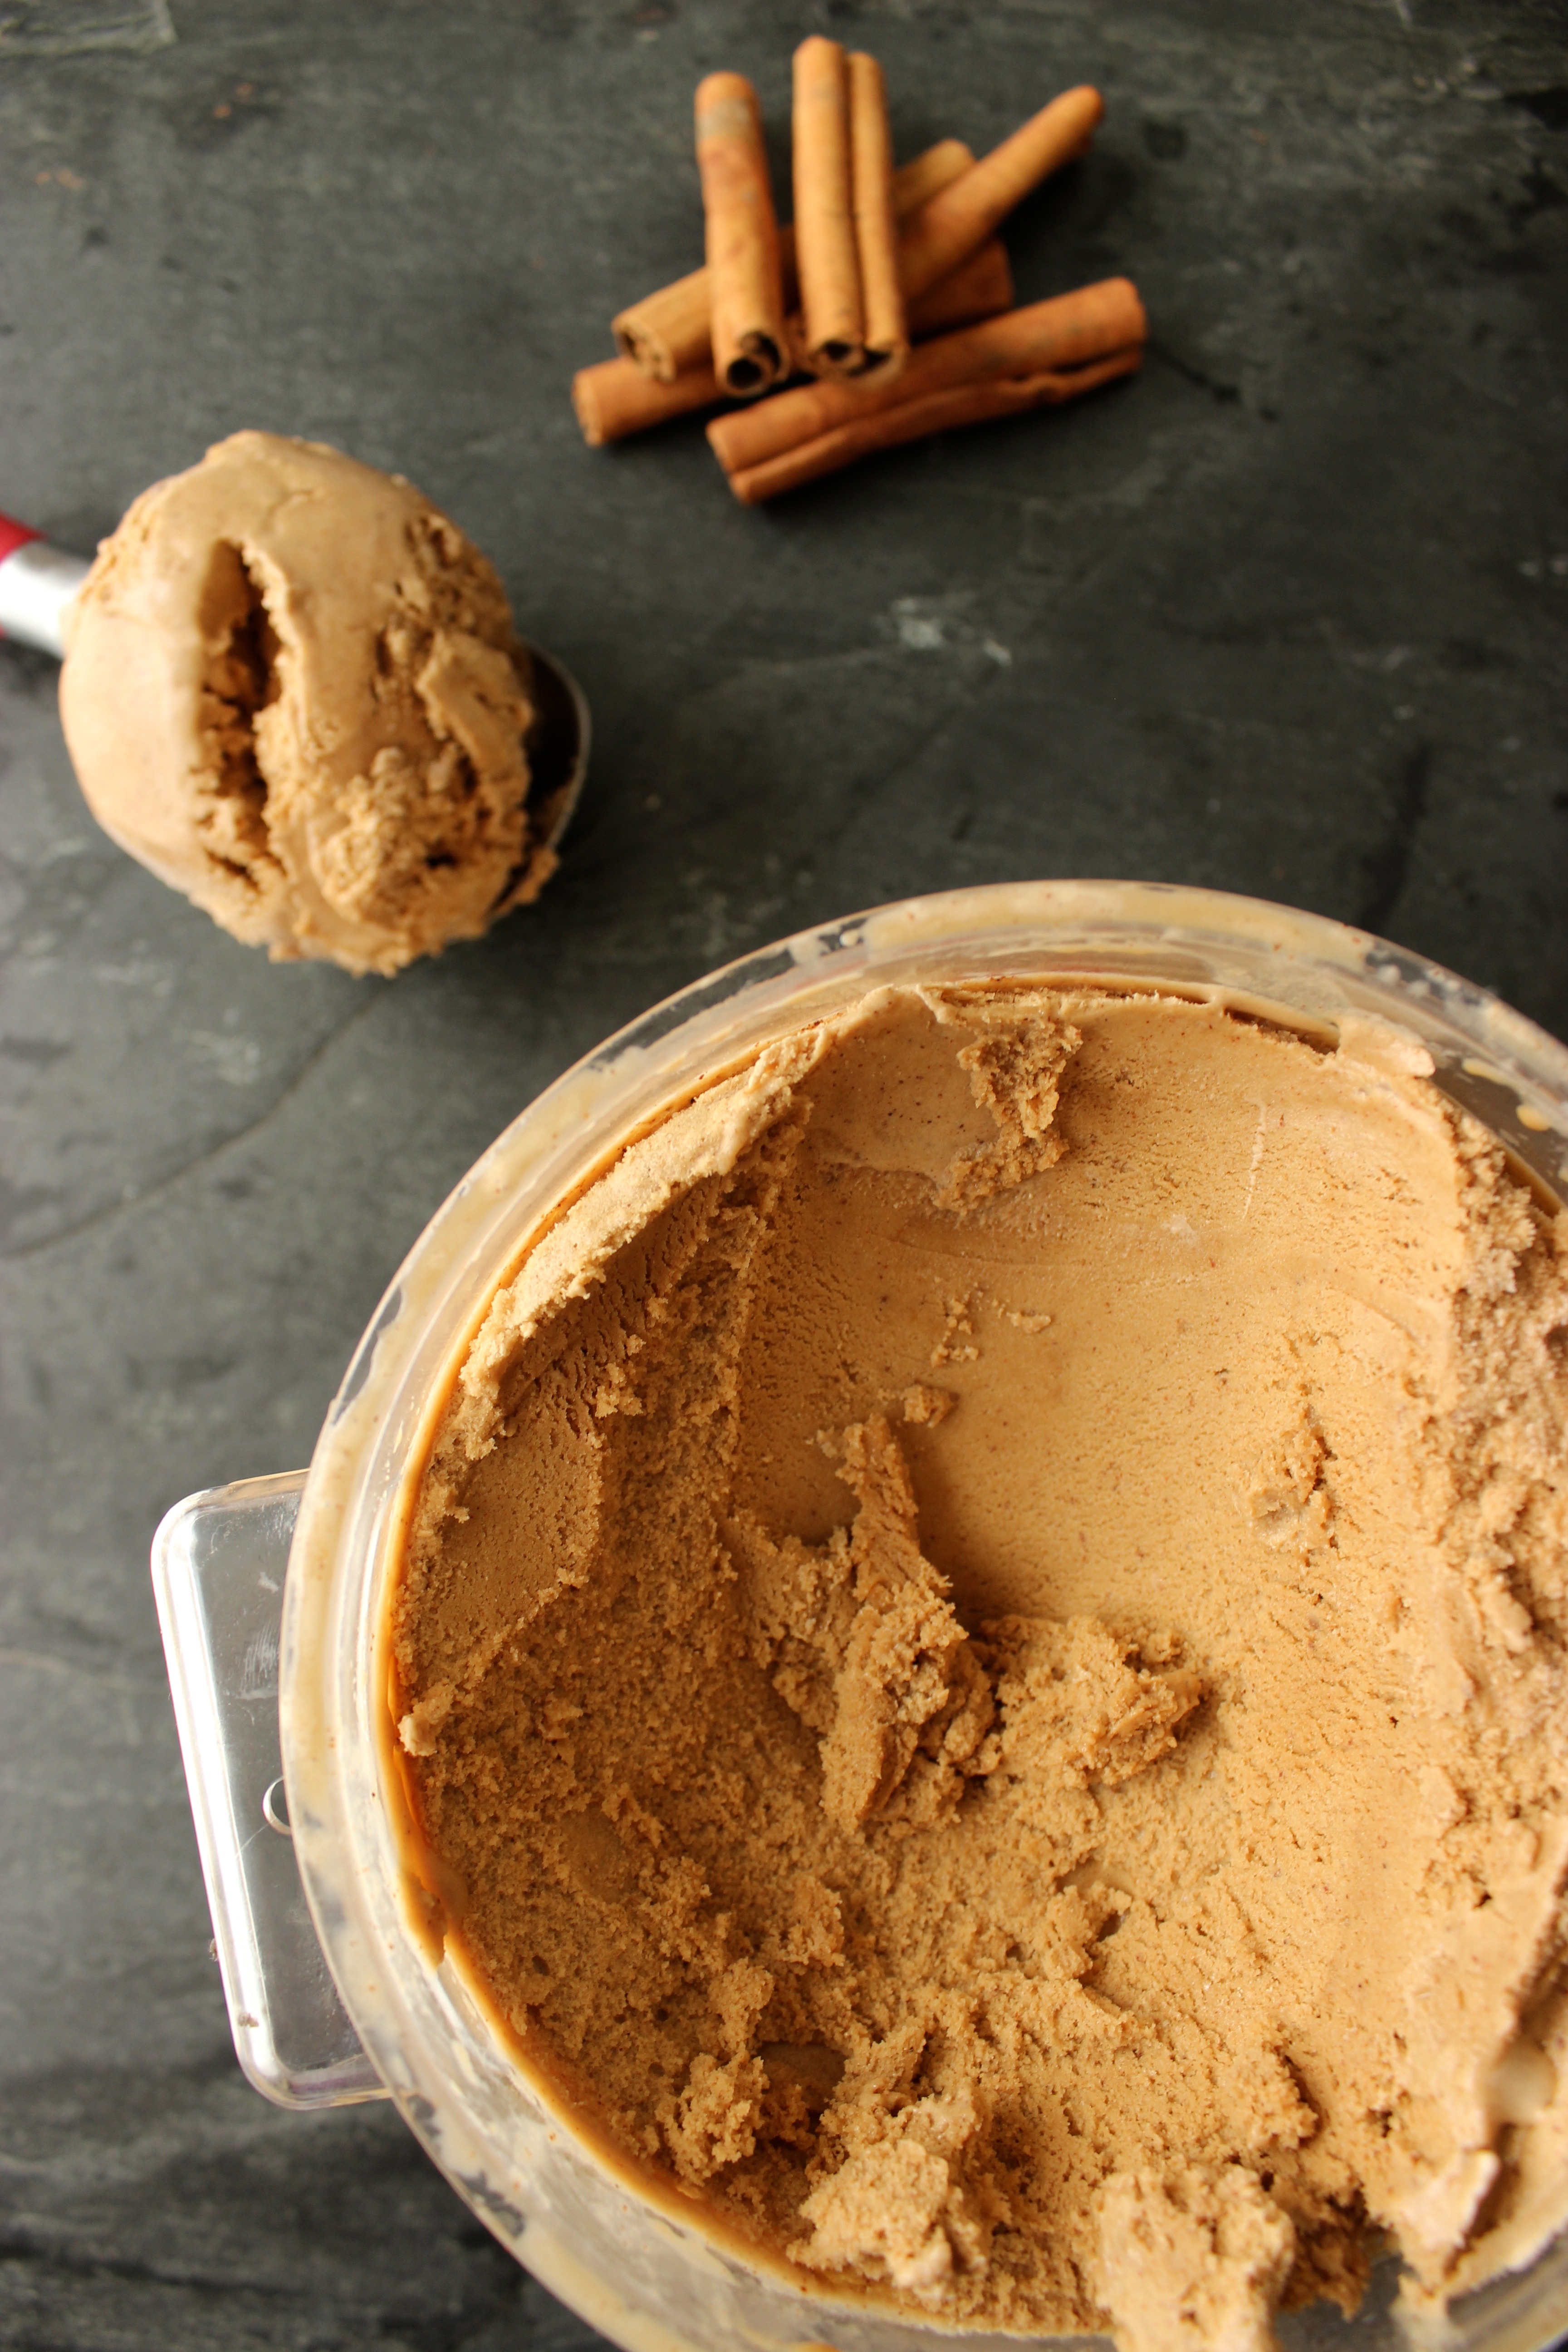
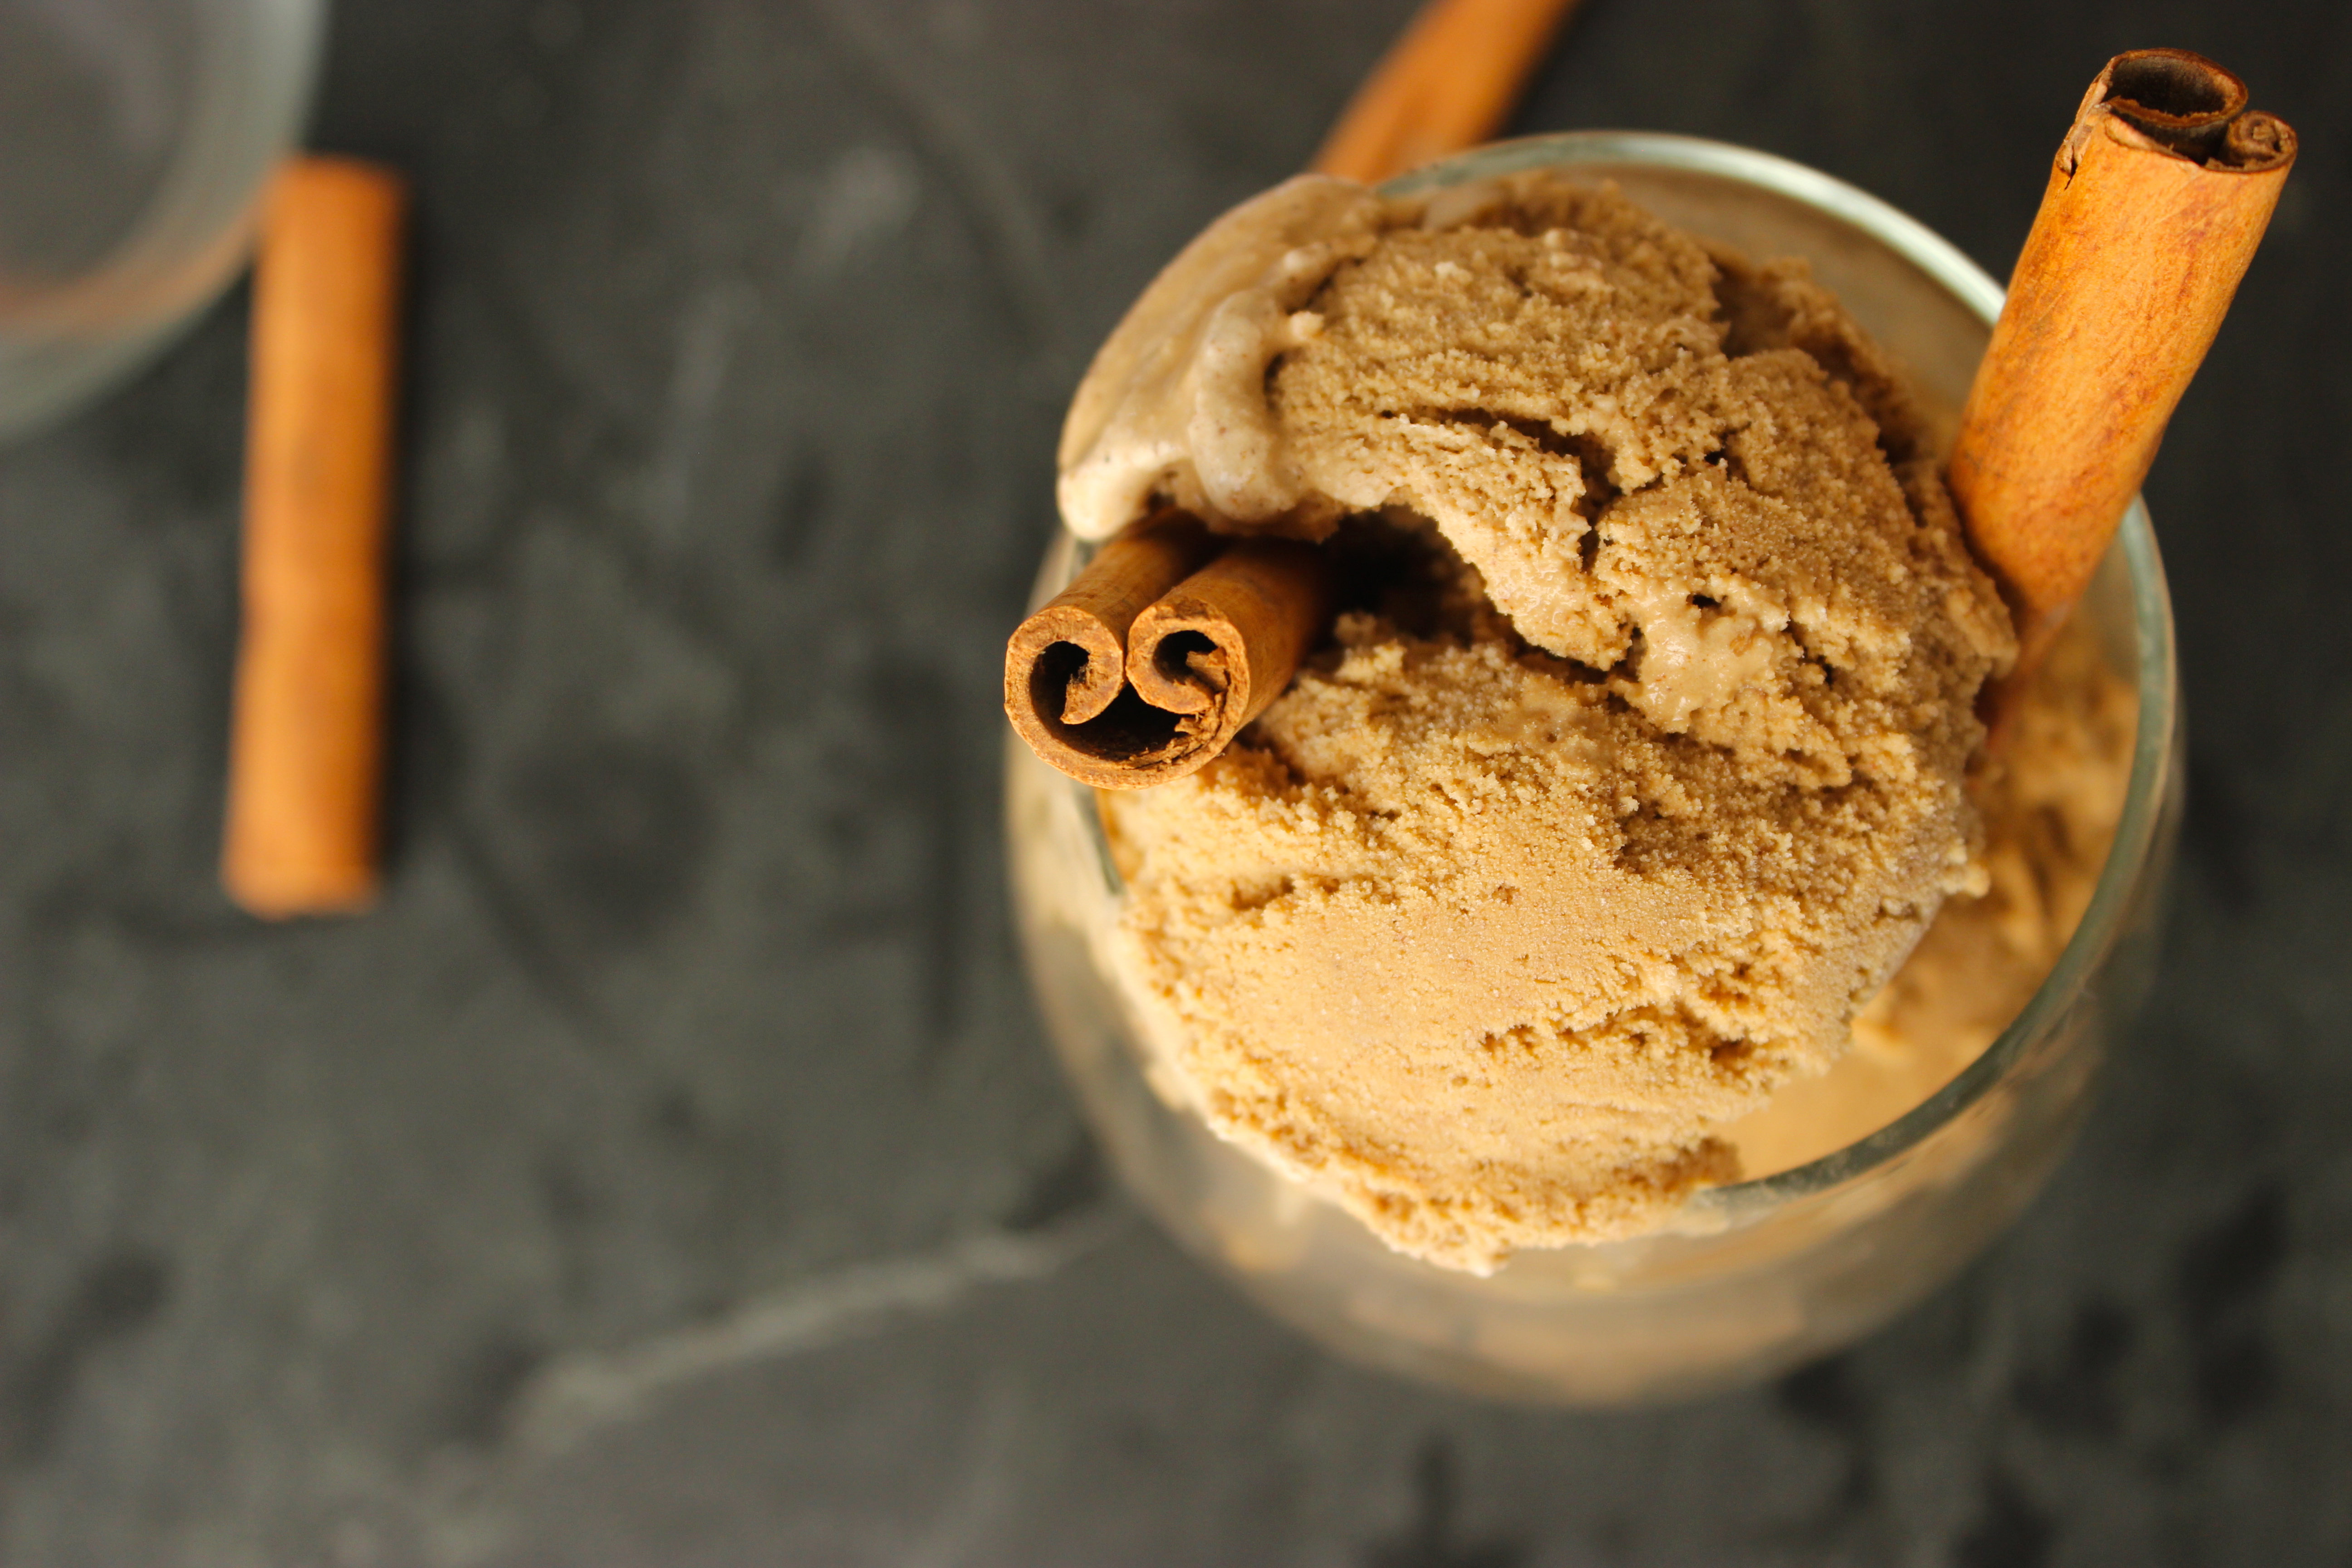
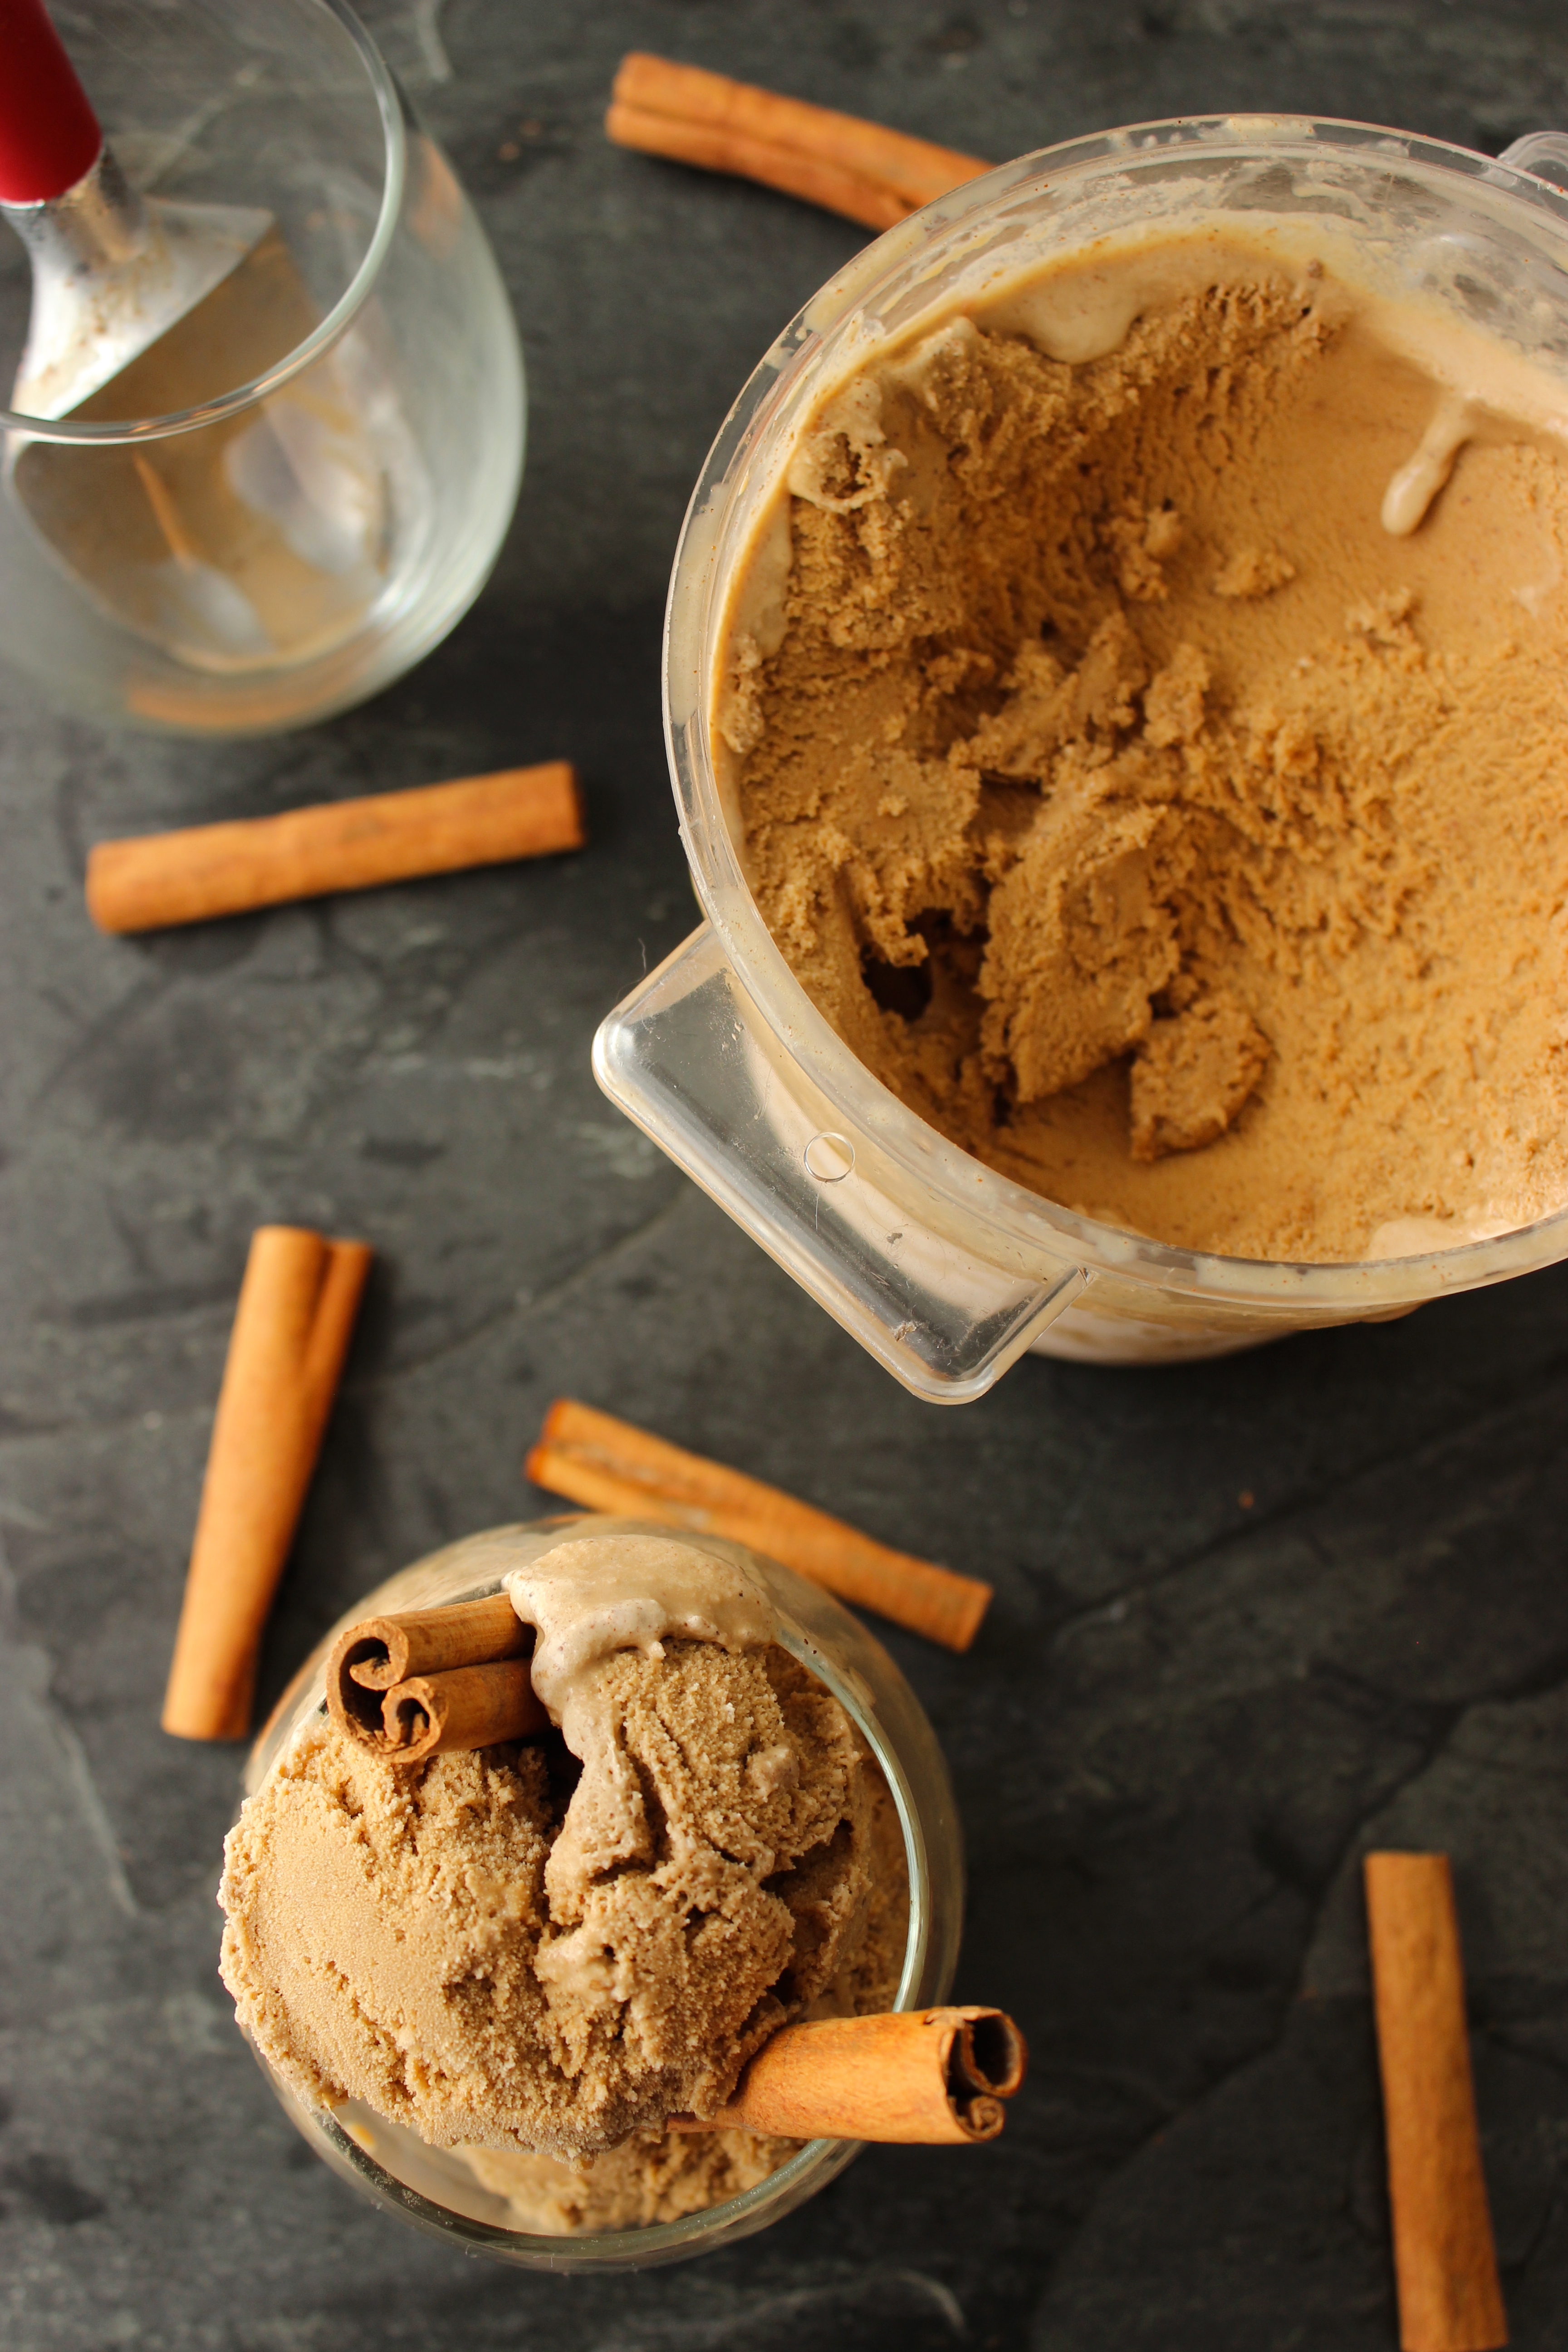
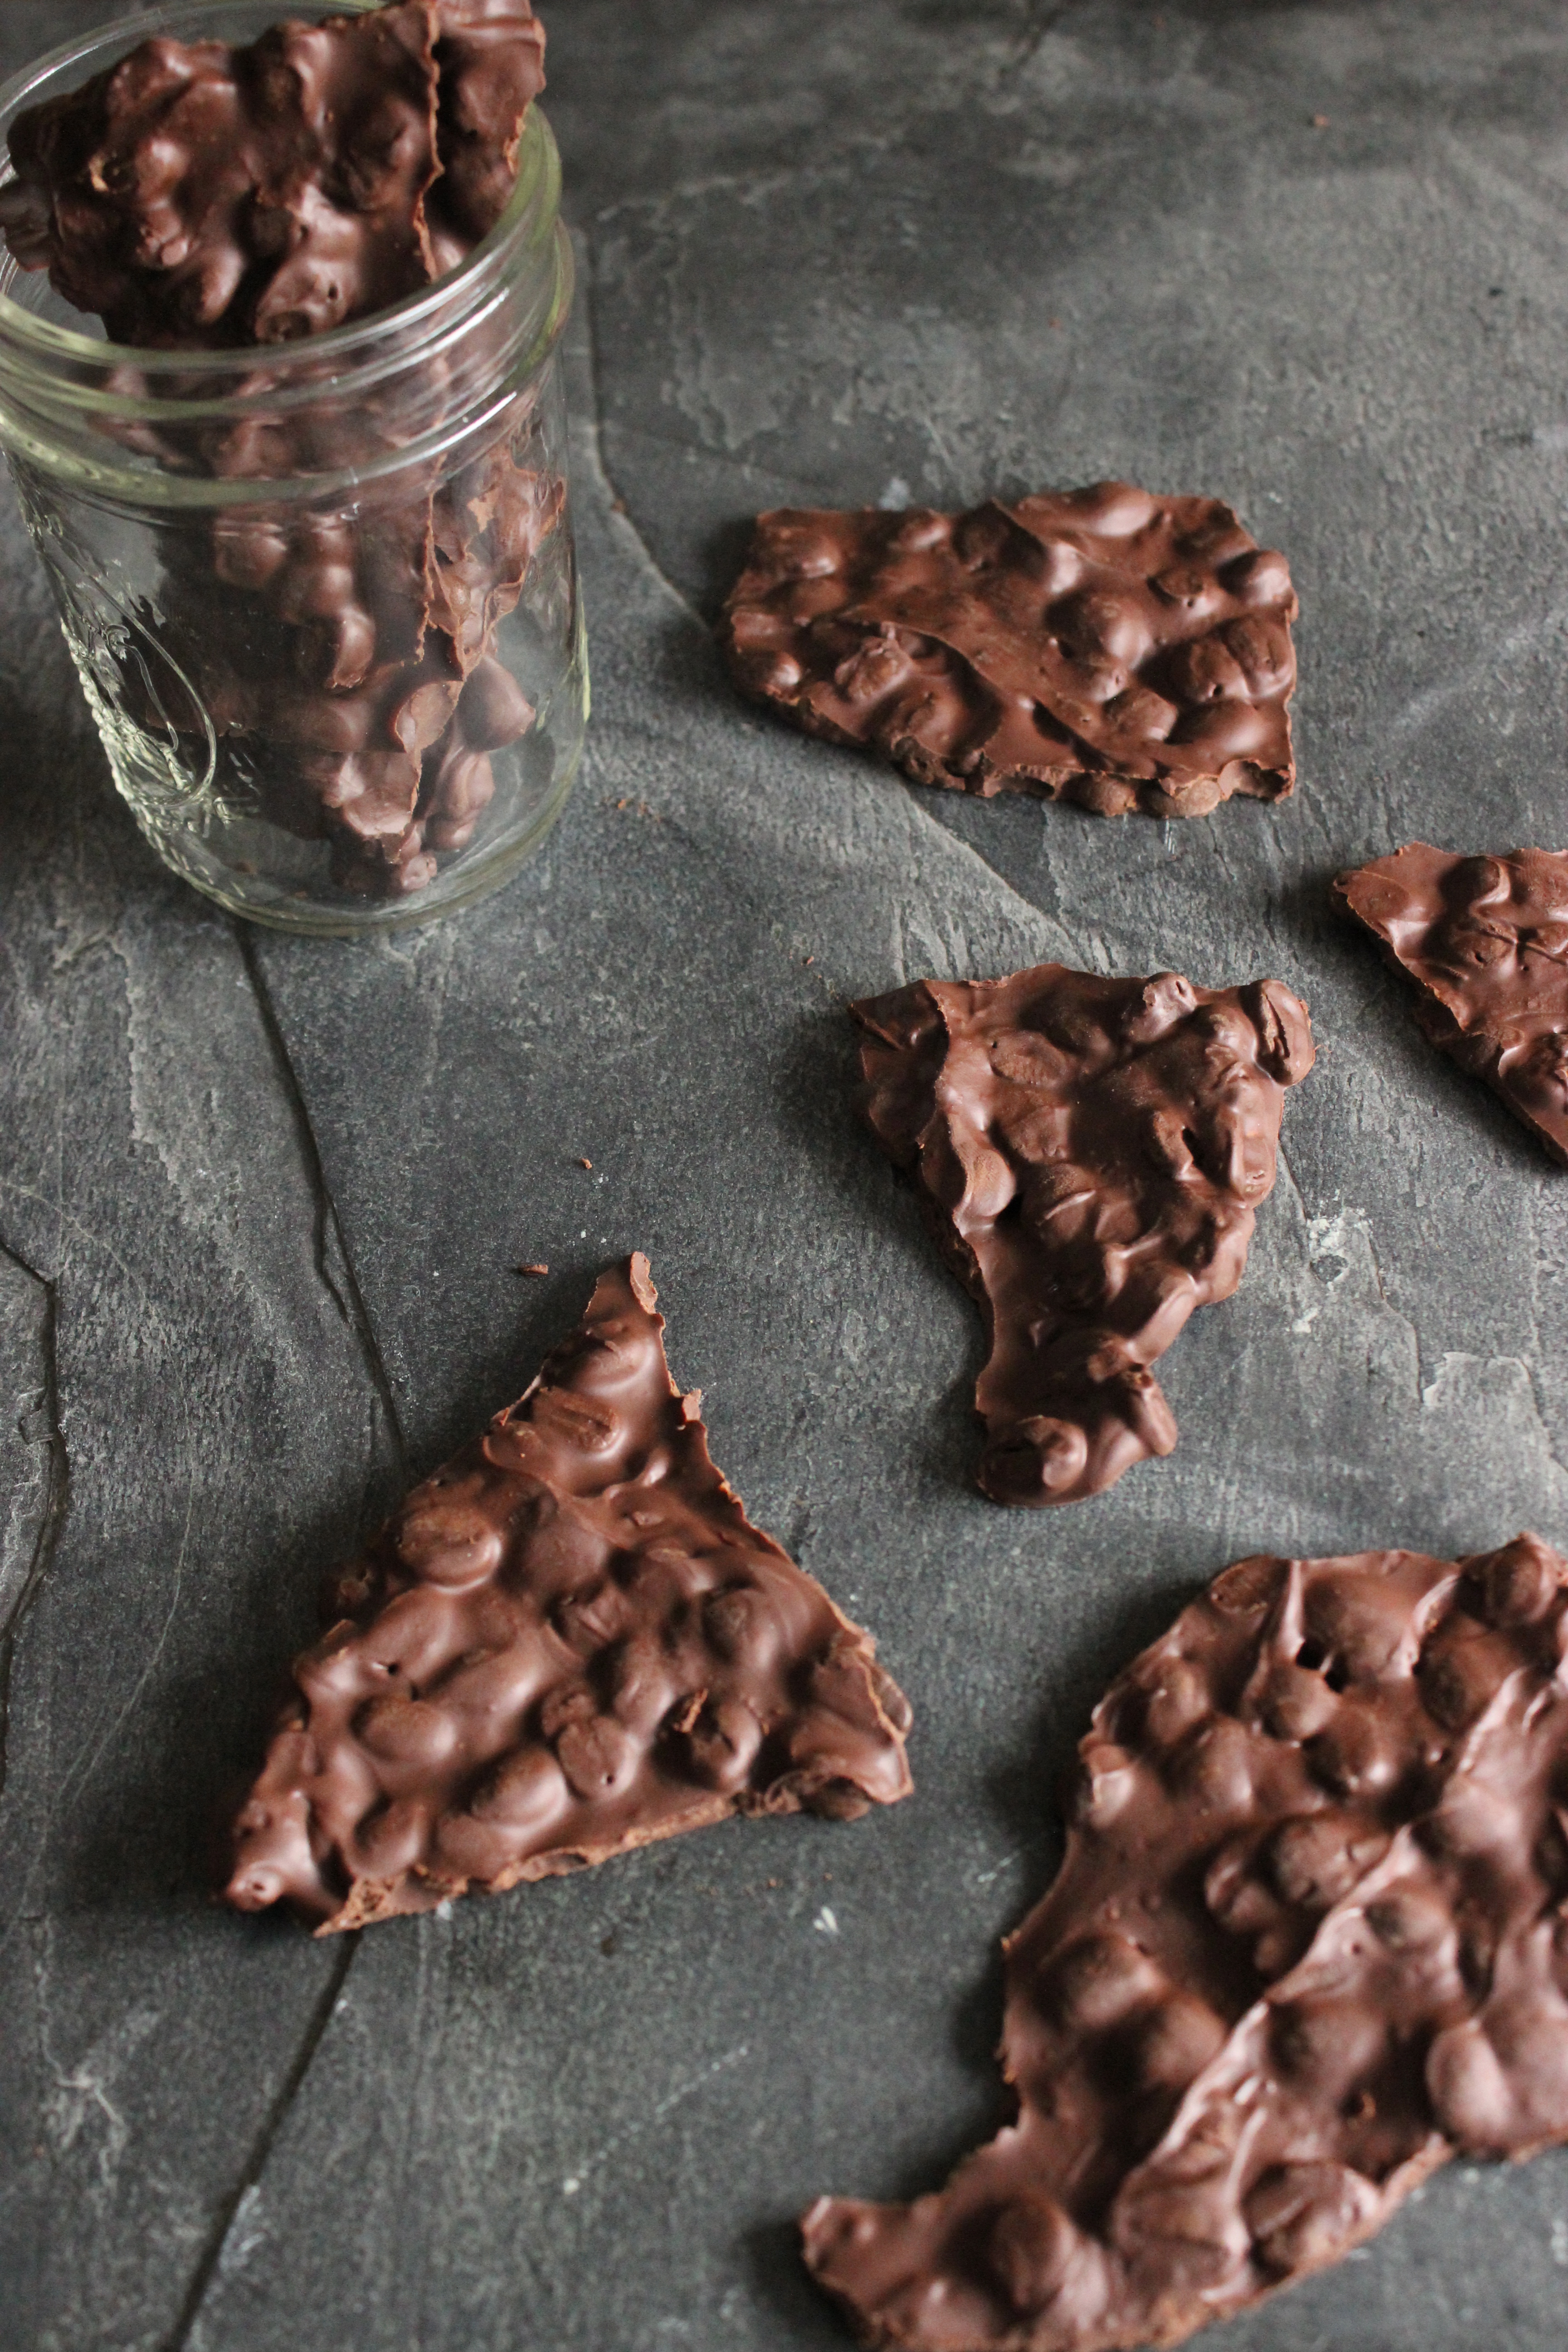
  • This recipe is a good base for a seasonally-appropriate biscotti, but it’s practically begging to be customized. The dough can be augmented with a half-cup of toasted nuts, the loaf can be generously sprinkled with coarse sugar or spices (my favorite, and what is shown here), or the cool biscotti can be dipped or drizzled with chocolate–let me know what you make!

Pumpkin Biscotti
 
Prep time
Cook time
Total time
 
Author:
Ingredients
  • 4 Tablespoons unsalted butter, softened
  • ⅔ Cup granulated sugar
  • 1¼ teaspoon cinnamon
  • ¼ teaspoon allspice
  • ¼ teaspoon ground ginger
  • ¼ teaspoon nutmeg
  • 1½ teaspoons baking powder
  • heaping ½ teaspoon salt
  • 1 teaspoon vanilla
  • 1 large egg
  • ½ cup pumpkin puree
  • 2 cups unbleached all purpose flour
  • Optional: coarse sugar, melted chocolate, toasted nuts, for topping/addition
Instructions
  1. Preheat the oven to 350 F and prepare a baking sheet with baking spray or parchment paper
  2. In a medium bowl, cream butter and sugar together. Add baking powder, spices, salt, and vanilla, stir until smooth.
  3. Add egg and pumpkin puree, stir until combined.
  4. Add the flour in two/three batches, stirring well between additions (optional: if including nuts, fold them into dough now)
  5. Turn dough out onto pan, and shape into a 12 inch x 3 inch log. Dough will be sticky, and a wet spatula may be useful to shape the dough (optional: top with coarse sugar or cinnamon sugar)
  6. Bake in oven for 25 minutes
  7. Remove the biscotti and reduce heat to 325 F. Let the biscotti cool for 5 minutes, then use a serrated knife to cut the loaf diagonally into ¾"-1" slices.
  8. Return biscotti to pan, edge-side down.
  9. Bake for 30 minutes, until golden brown and crunchy. When cooking is complete, turn off the oven and crack the door open--allow biscotti to cool in place.
  10. Yields 12-16 biscotti, which will keep for 3-5 days wrapped at room temperature.


{ 0 comments }

Horchata

How to make Horchata--Laughing Over Spilled Milk

Horchata is a sweet rice-based drink from Latin America that’s served over ice and topped with cinnamon. It is literally made of sugar and spice and everything nice.

How to make horchata: Laughing Over Spilled Milk

The rice is soaked in water for about 10 hours, and then blended, and then the mixture is strained through a cheesecloth. The result is a white, mildly elemental base for a drink, which is then flavored with sugar and cinnamon.

How to Make Horchata--Laughing Over Spilled Milk

I would take this over sweet tea 100% of the time, but let’s not tell my fellow Georgians. I used to be able to buy this at the supermarket by my Austin apartment, and when I’m homesick (which is a lot, in these early days), this is inevitably what comes of it.

How to make Horchata--Laughing Over Spilled Milk

The recipe below has (a smattering of) cashews–you can substitute in almonds, if they’re blanched/peeled, or omit the nuts entirely and just soak/blend the rice with the same amount of water. More nuts will make the drink creamier, less nuts will (depending on who you ask) make the drink more authentic.

How to make Horchata--Laughing Over Spilled Milk

Cheers.

Horchata
 
Author:
Ingredients
  • 1 cup long-grain white rice
  • ¼ cup whole raw cashews
  • 5 cups water, divided
  • 2 short cinnamon sticks (more may be desired for garnish)
  • ½ cup white granulated sugar
  • ground cinnamon for garnish (optional but recommended)
Instructions
  1. Combine rice, cashews, and 2 cups warm water in a blender. Pulse for 10 seconds--enough to break up the rice, but not enough to pulverize it.
  2. Transfer the rice and water to a jar or other closed container. Allow to soak, at room temperature, for at least 8 hours.
  3. Remove cinnamon sticks and blend rice and water together until rice is pulverized.
  4. Strain liquid through a double layer of cheesecloth or very fine sieve into a pitcher.
  5. Add 3 cups cold water and sugar, stir to combine.
  6. Serve over a generous helping of ice, and garnish with ground cinnamon and/or cinnamon sticks.


{ 1 comment }

Coffee and Toasted Cinnamon Ice Cream

IMG_1606Living in Texas for the last 23 years has not really prepared me for seasons that are not Summer and January. This late-summer season is lovely–I can feel fall and cinnamon everything on the horizon, but it’s still hot enough out that I want to put all that in ice cream.

CinnamonStickIC

No matter the recipe, ice cream has a predictable pattern (albeit a more complicated one if you’re following the egg-inclusive French style, rather than the cream-heavy Philadelphia one): heat the dairy, temper the eggs (temper your patience too, because you don’t want to rush this step), chill for hours, churn for minutes, enjoy for weeks.

Coffee and Toasted Cinnamon Ice Cream--Laughing Over Spilled Milk

NOTE: When toasting cinnamon, supervise closely–there should be no smoking, and it should be just about done by 3 minutes on medium heat. This step is optional, but recommended.


Coffee and Toasted Cinnamon Ice Cream
 
Author:
Ingredients
  • 1 tablespoon cinnamon
  • 2 cups heavy cream
  • 1½ cups milk
  • 3 tablespoons instant coffee
  • ⅔ cup white granulated sugar
  • 1 teaspoon salt
  • 2 small cinnamon sticks (more may be desired, for garnish)
  • 6 egg yolks
  • 1 teaspoon vanilla extract
Instructions
  1. Beat egg yolks together in a small bowl until they lighten in color (approximately 1 minute), set aside.
  2. In a small, dry, nonstick frying pan, toast 1 tablespoon cinnamon over medium-low heat for 1-3 minutes, stirring or shaking pan to prevent burning. When the cinnamon smells fragrant and spicy, remove from heat and set aside.
  3. In a large sauce pan combine heavy cream, milk, sugar, instant coffee, salt, and cinnamon sticks. Cook over medium heat for 6-8 minutes, stirring occasionally, until mixture is steaming and hot but not simmering (boiling your custard will give you scrambled-egg ice cream). Remove from heat.
  4. Add ¼ cup of the milk/cream mixture to the egg yolks, whisking constantly until combined. Repeat 2-3 times before returning the liquid and egg yolks back to the saucepan.
  5. Continue to cook the custard for 3-4 more minute over medium-low heat, stirring frequently, until the mixture thickens (it should coat the back of a spoon or spatula).
  6. Remove from heat and allow to cool--an ice bath may be used to cool the custard quickly.
  7. Once mixture has cooled, add vanilla extract.
  8. Chill custard in the fridge for 2-10 hours. Remove cinnamon sticks after chilling.
  9. Churn in an ice cream maker according to manufacturer instructions.


{ 0 comments }

Walnut Dark Chocolate Chunk Cookies

Walnut Chocolate Chip Cookies

I need a business-casual outfit that screams “I am reliable! Let’s make flashcards together! But also sometimes go to happy hour!”

…How does one pull that off without trying too hard?

Growing up, I was 100% not the cool kid in school. I was way outside of anything awesome or awful, safe in the largely unnoticed neutral zone. So picking out an outfit to wear on the first day of school required about.00094 seconds of thought.

The day before grad school orientation (which has a “business casual” dress code and opens with a photo session what is up with that???), I have tried on 9. What says “Please like me, people who have interests similar to mine” and won’t make me look fat in photographs? This was never a relevant question in grade school, but then I (almost) always had friends walking in.

walnut chocolate chip cookies

I’m better at food than fashion: I think the answer to getting someone to like you is almost always cookies. Especially these cookies–the Tollhouse ones that have been on the bag forever, but thicker, with chunks of chocolate and toasted walnuts, and some sea salt on top if you’re feeling a little unconventional. These are classic, timeless, eat-them-with-milk-and-make-friends cookies.

Or something like that.

walnut chocolate chip cookie

Walnut Chocolate Chunk Cookies
 
Author:
Ingredients
  • 1 cup/2 sticks unsalted butter, softened
  • 1 cup brown sugar
  • ¼ cup white granulated sugar
  • 1 tablespoon vanilla paste (may substitute vanilla extract)
  • 2 large eggs
  • 1 teaspoon baking soda
  • 1 teaspoon salt
  • 2½ cups all-purpose flour
  • 10 ounces dark chocolate, chopped
  • 1 cup chopped walnuts, toasted
Instructions
  1. Preheat oven to 375 degrees fahrenheit. Line 2 baking sheets with parchment paper or silpat baking sheets.
  2. In a large mixing bowl, combine the butter, sugars, and vanilla, stirring until smooth.
  3. Add eggs, mixing completely after each addition.
  4. Sift flour, baking soda, and salt into batter in 3 parts, stirring well after each addition.
  5. Fold in chopped chocolate and walnuts.
  6. Refrigerate the dough for at least 1 hour.
  7. Drop dough onto prepared baking sheet in rounded tablespoons, leaving 2 inches between cookies for spreading.
  8. Bake for 9-11 minutes, until golden brown. Remove from oven, allow cookies to rest for 2 minutes before removing to cool.


{ 8 comments }

Red Wine Chocolate Cake

Over the weekend, I got a very, very exciting email.

red wine chocolate cake

I’ve been a labor & delivery nurse for about a year an a half. I love it. My favorite part of birth is watching the mom realize her own incredible, inherent strength. My other favorite part is watching her partner.My other favorite part is hearing someone with very small lungs cry at their very first birthday. My other favorite part is all the parts. Labor is awesome. Birth is sometimes difficult, always incredible. I have been way lucky, to have such an amazing start to my nursing career.

…And I hope I’m as lucky after graduate school, when I’m working as a midwife or nurse practitioner. That was the email on Friday. The subject line was “Welcome to Emory!” And the next sentence was “Congratulations on your acceptance to the Masters of Science in Nursing program!”

red wine chocolate cakeSo I propose a toast. But a toast with cake, because the best toasts involve cake.

To graduate school! To letters behind names! To moving!

And also to having some tiny internal seizures related to those things, which are great but require a lot of changes to my status quo (and I really like my status quo).

Cheers.

Red Wine Chocolate Cake with Red Wine Ganache
 
Ingredients
  • For the cake:
  • 1 cup red wine
  • 1 cup (2 sticks) butter
  • ¾ cup cocoa powder(preferably dutch-processed)
  • 2 cups all-purpose flour
  • 2 cups sugar
  • 1½ teaspoons baking powder
  • 1 teaspoon salt
  • 2 eggs
  • ⅓ cup sour cream
  • For the ganache
  • 1 cup heavy cream
  • 2 tablespoons wine
  • 12 ounces dark chocolate
Instructions
  1. For the Cake:
  2. Preheat oven to 350.
  3. In a small saucepan, heat the butter and wine together until melted and barely simmering. Remove from heat and whisk in cocoa powder until smooth. Set aside.
  4. In a medium mixing bowl, whisk together flour, sugar, baking powder, and salt until uniform.
  5. In a large mixing bowl, stir together sour cream and eggs until smooth.
  6. Add the wine-butter mixture to the eggs, and then the dry ingredients, stirring until smooth after each addition.
  7. Transfer batter into a prepared 9-inch round pan, or 5 prepared ramekins.
  8. Bake for 40-50 minutes for the round pan, 25-28 minutes for the ramekins.
  9. For the Ganache:
  10. Chop 12 ounces dark chocolate, place in a medium bowl. Set aside.
  11. Bring the heavy cream and wine to a boil in a small saucepan over medium heat.
  12. Pour the heated cream and wine over the chocolate, let stand for one minute.
  13. Stir until smooth. Pour over cooled cake, spreading with spatula if necessary. For a thinner ganache, increase heavy cream by 2 tablespoons.


{ 0 comments }

Bourbon Pecan Caramel Sauce

Bourbon Pecan Caramel SauceBourbon has been having a moment. A funky-fonted, mason-jarred, fabulously-mustached swelling of support from some of Austin’s more hipster haunts (I’m looking at you and your happy hour specials, Rainey Street).

Bourbon Pecan Caramel Sauce

I’m not going to act like I haven’t swung way over into hipster territory, in a lot of ways: I’m typing this on a macbook, while sitting in an aging apartment in a rapidly gentrifying neighborhood, sipping iced coffee I bought at a food co-op, out of a mason jar I last used to make cheese, for which I used raw milk I got from a goat I gained access to via a herd-share program I joined 4 months ago. I bike-commute and wear red lipstick. But I haven’t quite jumped on the bourbon train.

Bourbon Pecan Caramel Sauce

I can’t say this sauce has made me a bourbon convert, but oh, it tries. It is so good. It is spoon-licking, sundae-topping, mason-jar scraping delicious. It is potentially worth buying bourbon you’re not convinced you’re into yet.

NOTE: the recipe below makes a full litre of sauce, which is maybe a lot of sauce for one person, but is the perfect amount of sauce for making friends via food-bribery. Adjust as desired.

Bourbon Pecan Caramel Sauce
 
Author:
Ingredients
  • ½ cup bourbon
  • 1 teaspoon lemon juice
  • 2 cups white granulated sugar
  • 2 cups heavy cream
  • 1 teaspoon salt
  • 1 tablespoon vanilla paste (may substitute extract)
  • 1 cup pecans, roughly chopped and toasted
Instructions
  1. In a high-sided saucepan, pour the bourbon and lemon juice. Gently pour the sugar into the center of the pan, allowing it to spread towards the edges--do not stir.
  2. Cook over medium heat for 4-6 minutes, swirling the pan occasionally. Keep a close eye--the sugar can quickly burn as it changes color. When it is a dark amber, remove from heat.
  3. Immediately add the cream--don't be alarmed as the caramel seizes and hisses. Stirring with a wooden spoon, return the pan to low heat and cook until the sauce thickens (5-10 minutes).
  4. Add salt and vanilla, stir to combine. Add pecans.
  5. Store sauce in an airtight container in the refrigerator. Sauce will keep for up to 1 month.


{ 0 comments }

Homemade Marshmallows

Homemade Marshmallows

Maillard reaction: the term for a variety of potential reactions (all requiring heat greater than ~280 degrees fahrenheit, amino acids, and sugar), that make food taste delicious and look brown (see above).

It’s what happens every time you sear meat (though not when you steam it–the Maillard reaction doesn’t love water, because it the boiling point of water is below the heat threshold required for the reaction), and every time you stick a marshmallow under a broiler. The end flavors depend on what food is undergoing the reaction; the steak mentioned above doesn’t taste like the marshmallow pictured above, because the amino acids and sugars being exposed to the heat are (obviously) very different.

Homemade Marshmallows

There are a lot more sugars here than there are in steaks, and the sugars here are mixed with gelatin and then coated in cornstarch and more sugar–which makes them really, really amenable to browning/the Maillard reaction.

Homemade Marshmallows

You don’t have to brown your marshmallows into furanone-laden pockets of bliss, but I think you should.

Homemade Marshmallows

And you don’t have to use marshmallows as an excuse to geek out over the Maillard reaction, but I kind of think you should do that, too (this site is good for that).


NOTE: there is no way to make these without making a huge mess. It’s worth it, by a factor far greater than the convenience of opening a bag of Kraft Jet-Puffed. I recommend the liberal use of cooking spray and cornstarch.

Homemade Marshmallows
 
For this recipe, you'll need a candy thermometer, in addition to the ingredients listed below.
Author:
Ingredients
  • ¼ cup cornstarch
  • ¼ cup powdered sugar
  • 1 cup water, divided
  • 4 packets (3 tablespoons) unflavored gelatin
  • ¾ cup light corn syrup
  • ¼ teaspoon salt
  • 2 cups white granulated sugar
  • 2 tablespoons vanilla
Instructions
  1. Line a 13x9 inch pan with aluminum foil and spray with cooking oil. Combine the cornstarch and powdered sugar, and dust the coated pan. Tap excess into a small bowl and set aside for dusting the marshmallow tops.
  2. In a large bowl, or the bowl of a stand mixer, sprinkle 3 tablespoons (4 packets) unflavored gelatin over ½ cup cold water, set aside. This will "bloom" or solidify as the sugar mixture is prepared.
  3. In a medium saucepan, pour corn syrup and ½ cup water. Add the sugar and salt to the center of the pan.
  4. Bring mixture to a boil over medium heat, swirling the pan occasionally (do not stir). When the mixture is 240-244 degrees fahrenheit on a candy thermometer ("soft ball" stage), remove from heat.
  5. Start the stand or hand mixer on a slow speed, breaking up the gelatin. Add the hot sugar syrup in a slow but steady stream.
  6. Beat mixture on "high" for 12-15 minutes, or until the mixture is white, glossy, fluffy, and stiff, but still warm.
  7. Using a greased or oil-sprayed spatula, transfer the marshmallow mixture into the prepared pan. Tap the pan a few times--air bubble should rise to the top of your mixture, though they may not pop.
  8. Allow mixture to set until cooled completely, at least 6 hours.
  9. Using the reserved cornstarch/powdered sugar, dust your work surface and the top of the set marshmallows. Turn the marshmallow out onto a cutting board or work surface.
  10. Cut into cubes with greased kitchen shears or a greased chefs knife before tossing in powdered sugar (to prevent sticking). Marshmallows will keep in an airtight container, at room temperature, for up to a week (though they rarely last that long).


{ 0 comments }

Chocolate Espresso Bark

It took me a really long time to get into coffee. Before my night-shift days, I didn’t have a practical reason to indulge. And even when caffeine seemed like a necessity, coffee was an acquired taste.

EspressoChocolate

Things change. Taste. Acquired.

I could wax poetic about my love for coffee, but so could any other convert. It’s one of the delights of my morning. There are few rituals that make me as reliably happy as my french press (my french press that my significant other sometimes uses to bring me coffee before I even get out of bed. I swoon).

IMG_0839

It’s almost Valentine’s Day, and I think that means the internet is supposed to talk about pairs–whether you like them or you don’t, whether you’re part of one or you’re not. And I guess I’m all for that, as long as at least one of the pairs we talk about is coffee and chocolate, and as long as we get to eat that later.

ChocolateEspresso

Note: This pairing is not casual. There is a not-insignificant amount of coffee in this. Adjust as desired.

Chocolate Covered Espresso Bark
 
Author:
Ingredients
  • 6 ounces dark chocolate
  • ¾ cup espresso beans, unground
Instructions
  1. In a double boiler, melt dark chocolate until smooth. Stir in espresso beans, ensuring beans are entirely coated.
  2. Pour chocolate-espresso mixture onto ungreased parchment paper. If necessary, use a spatula to spread the chocolate until the beans are approximately single-layer.
  3. Allow chocolate to set until firm, then break into pieces for serving, gifting, or storing. Bark will keep in a sealed container at room temperature for up to 1-2 weeks.


{ 0 comments }